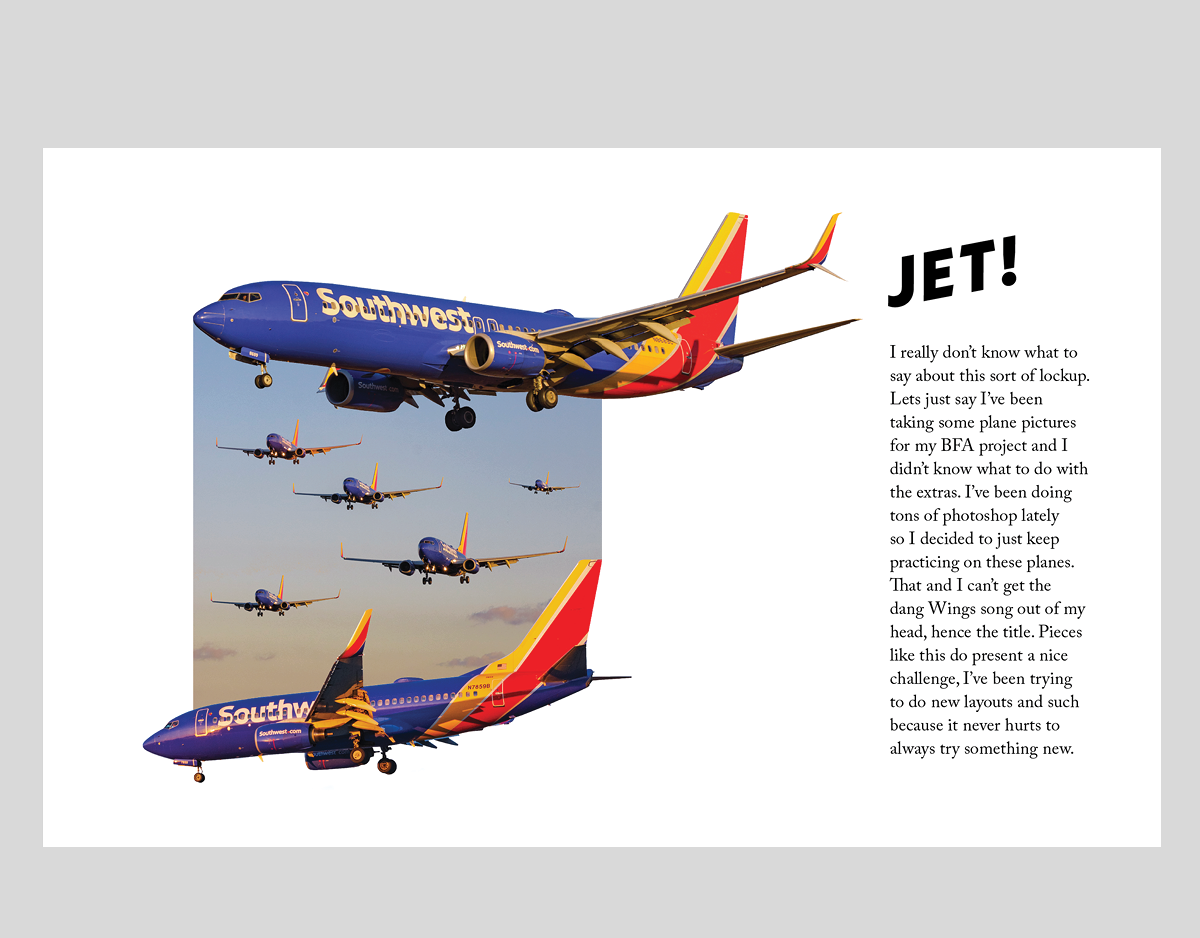
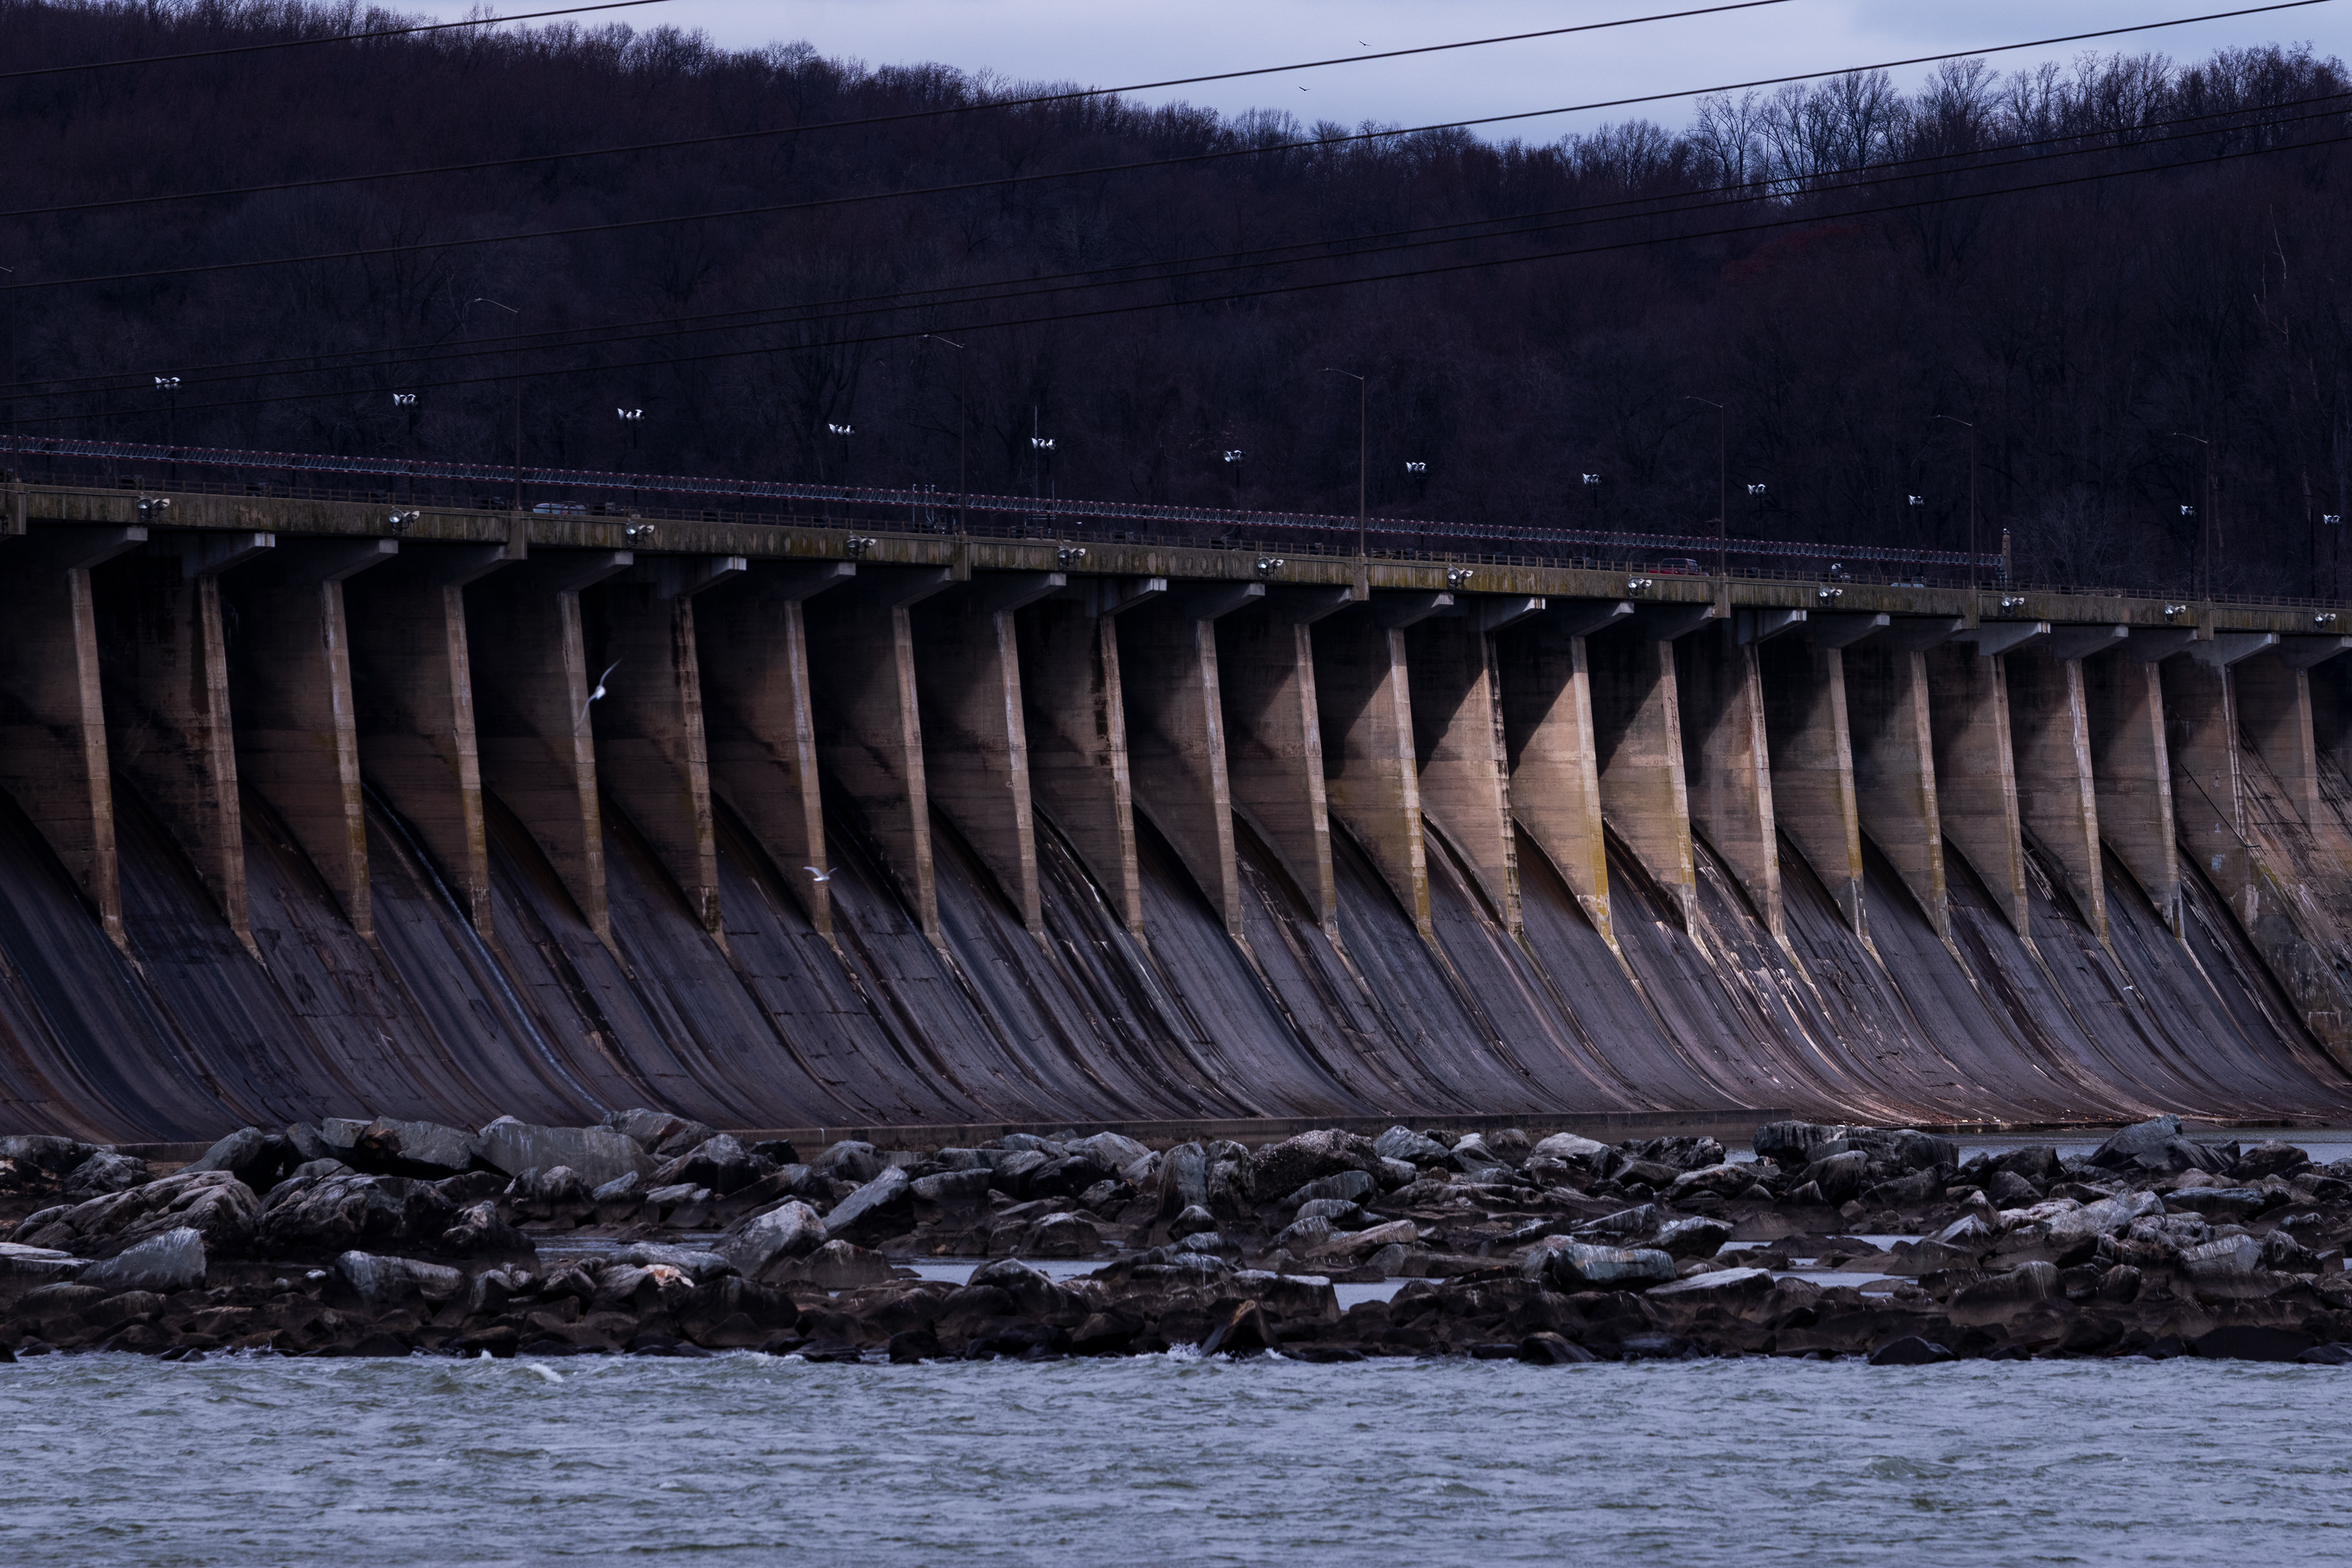


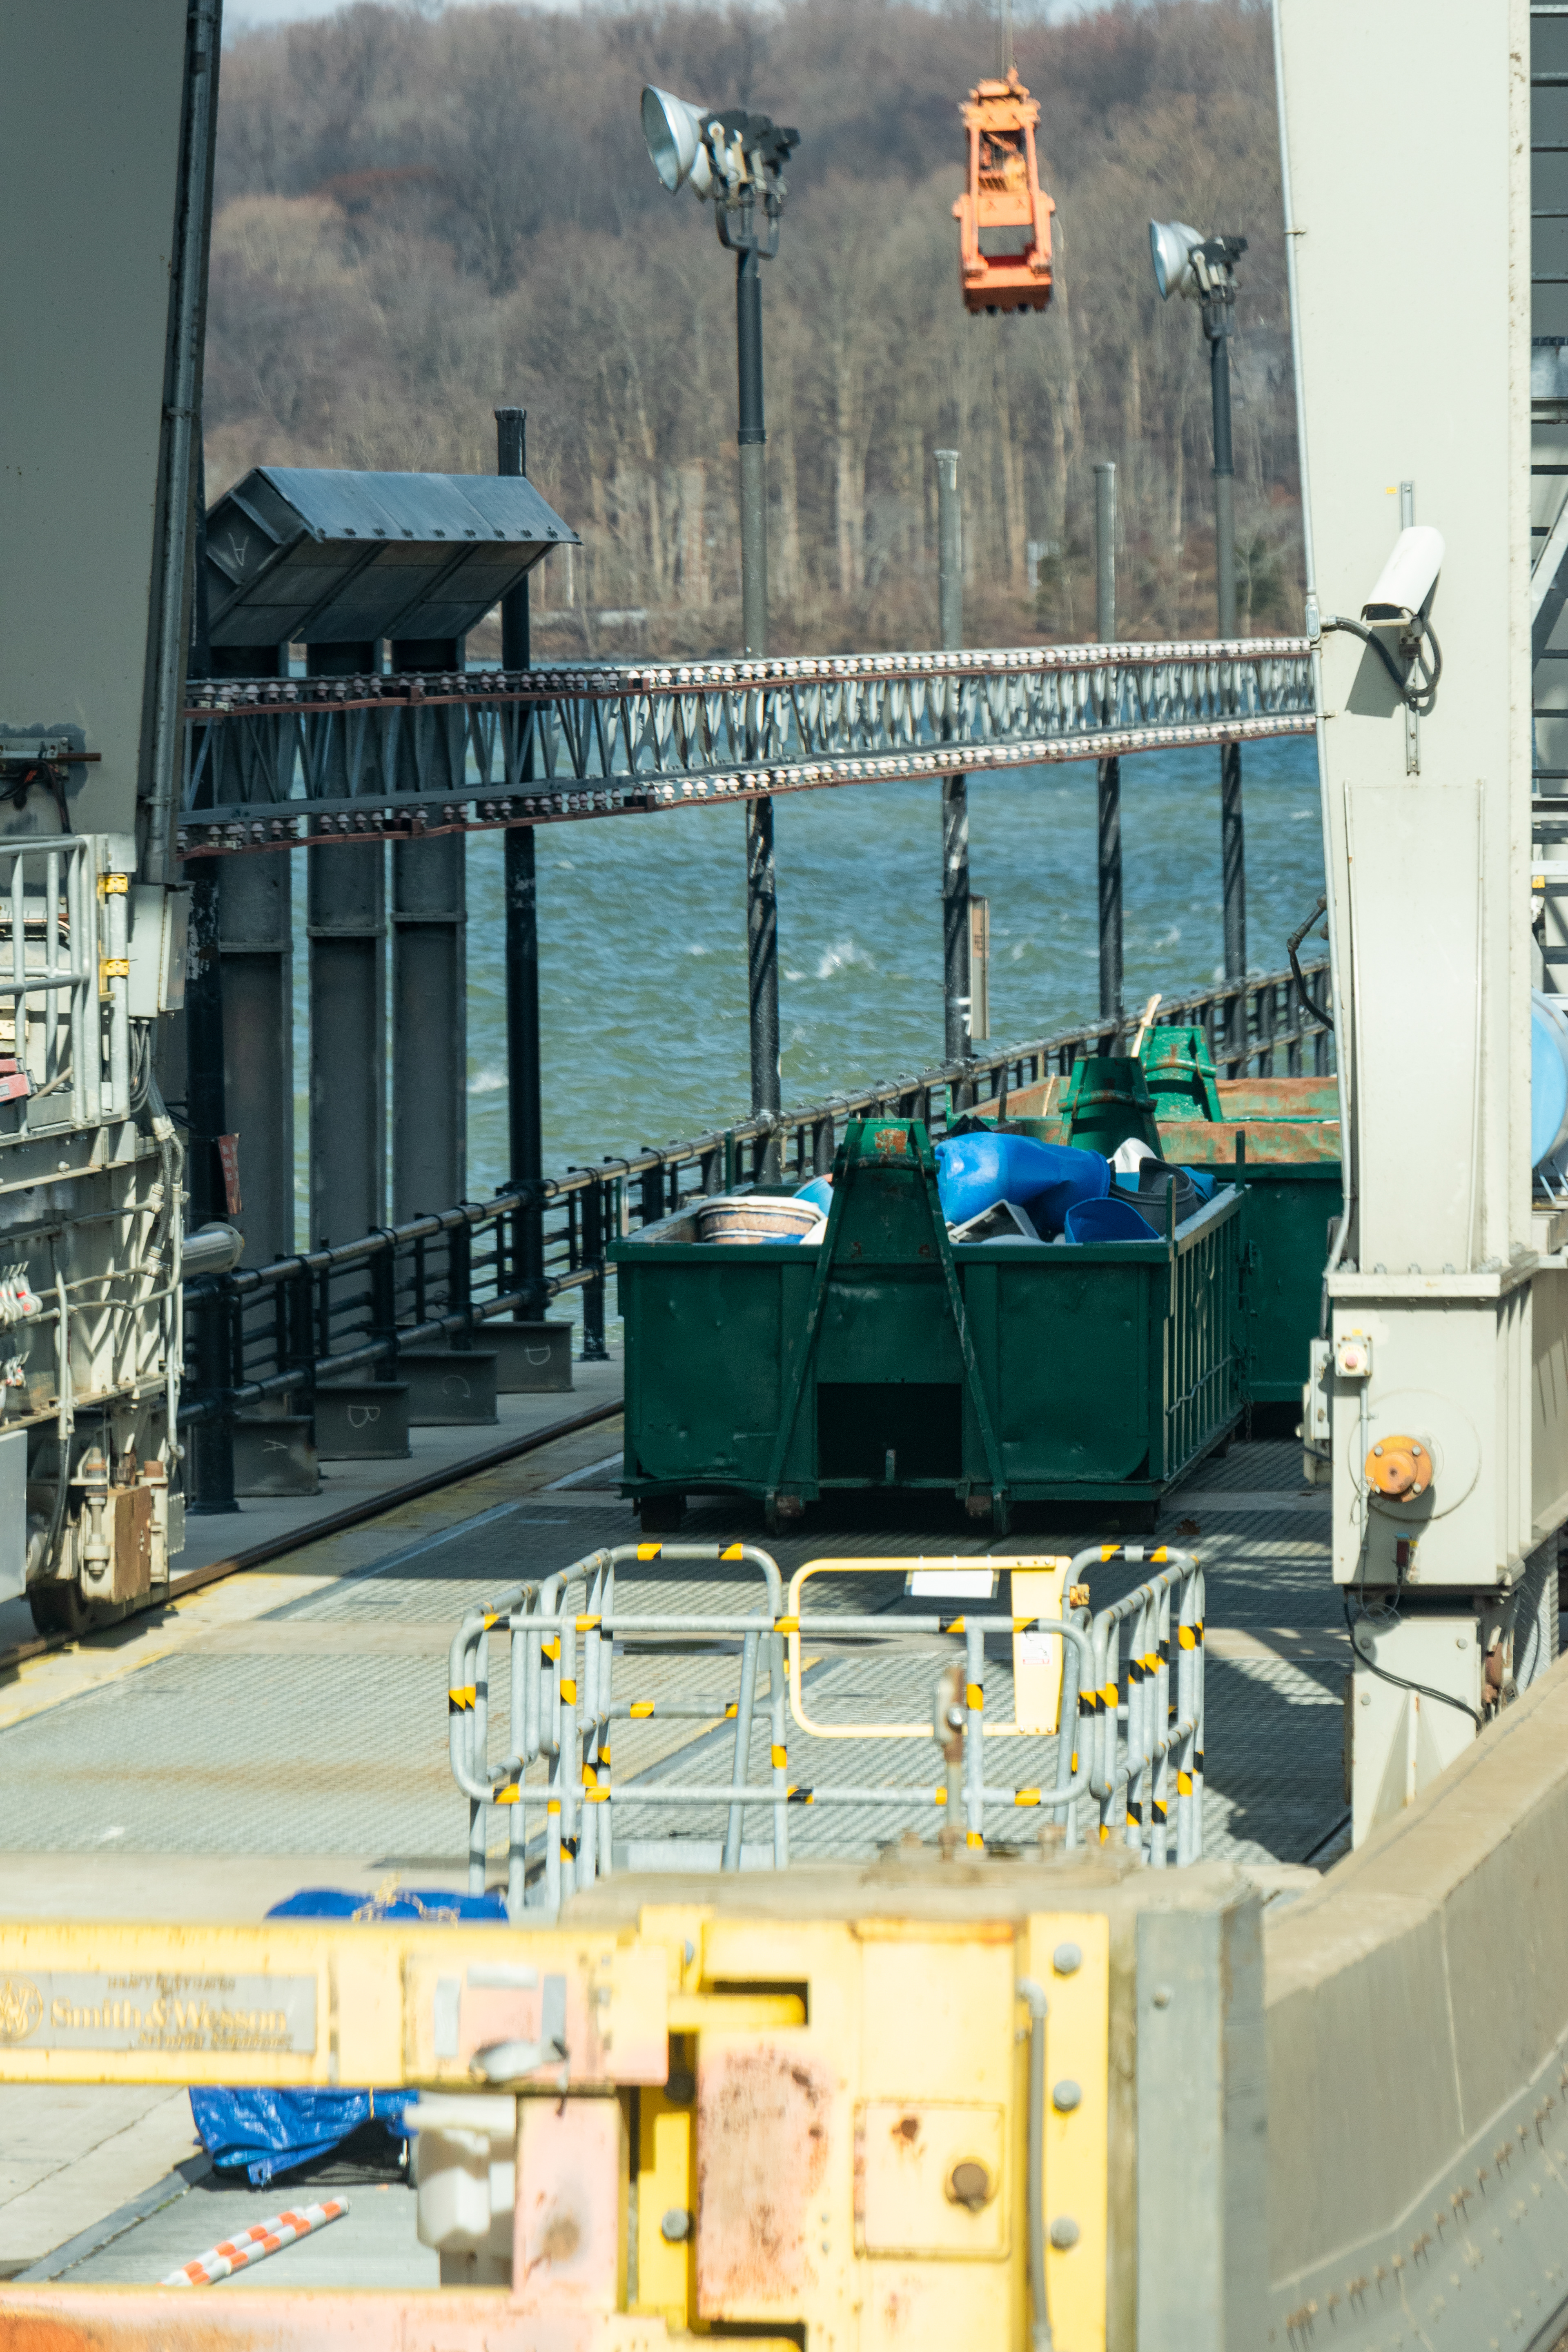
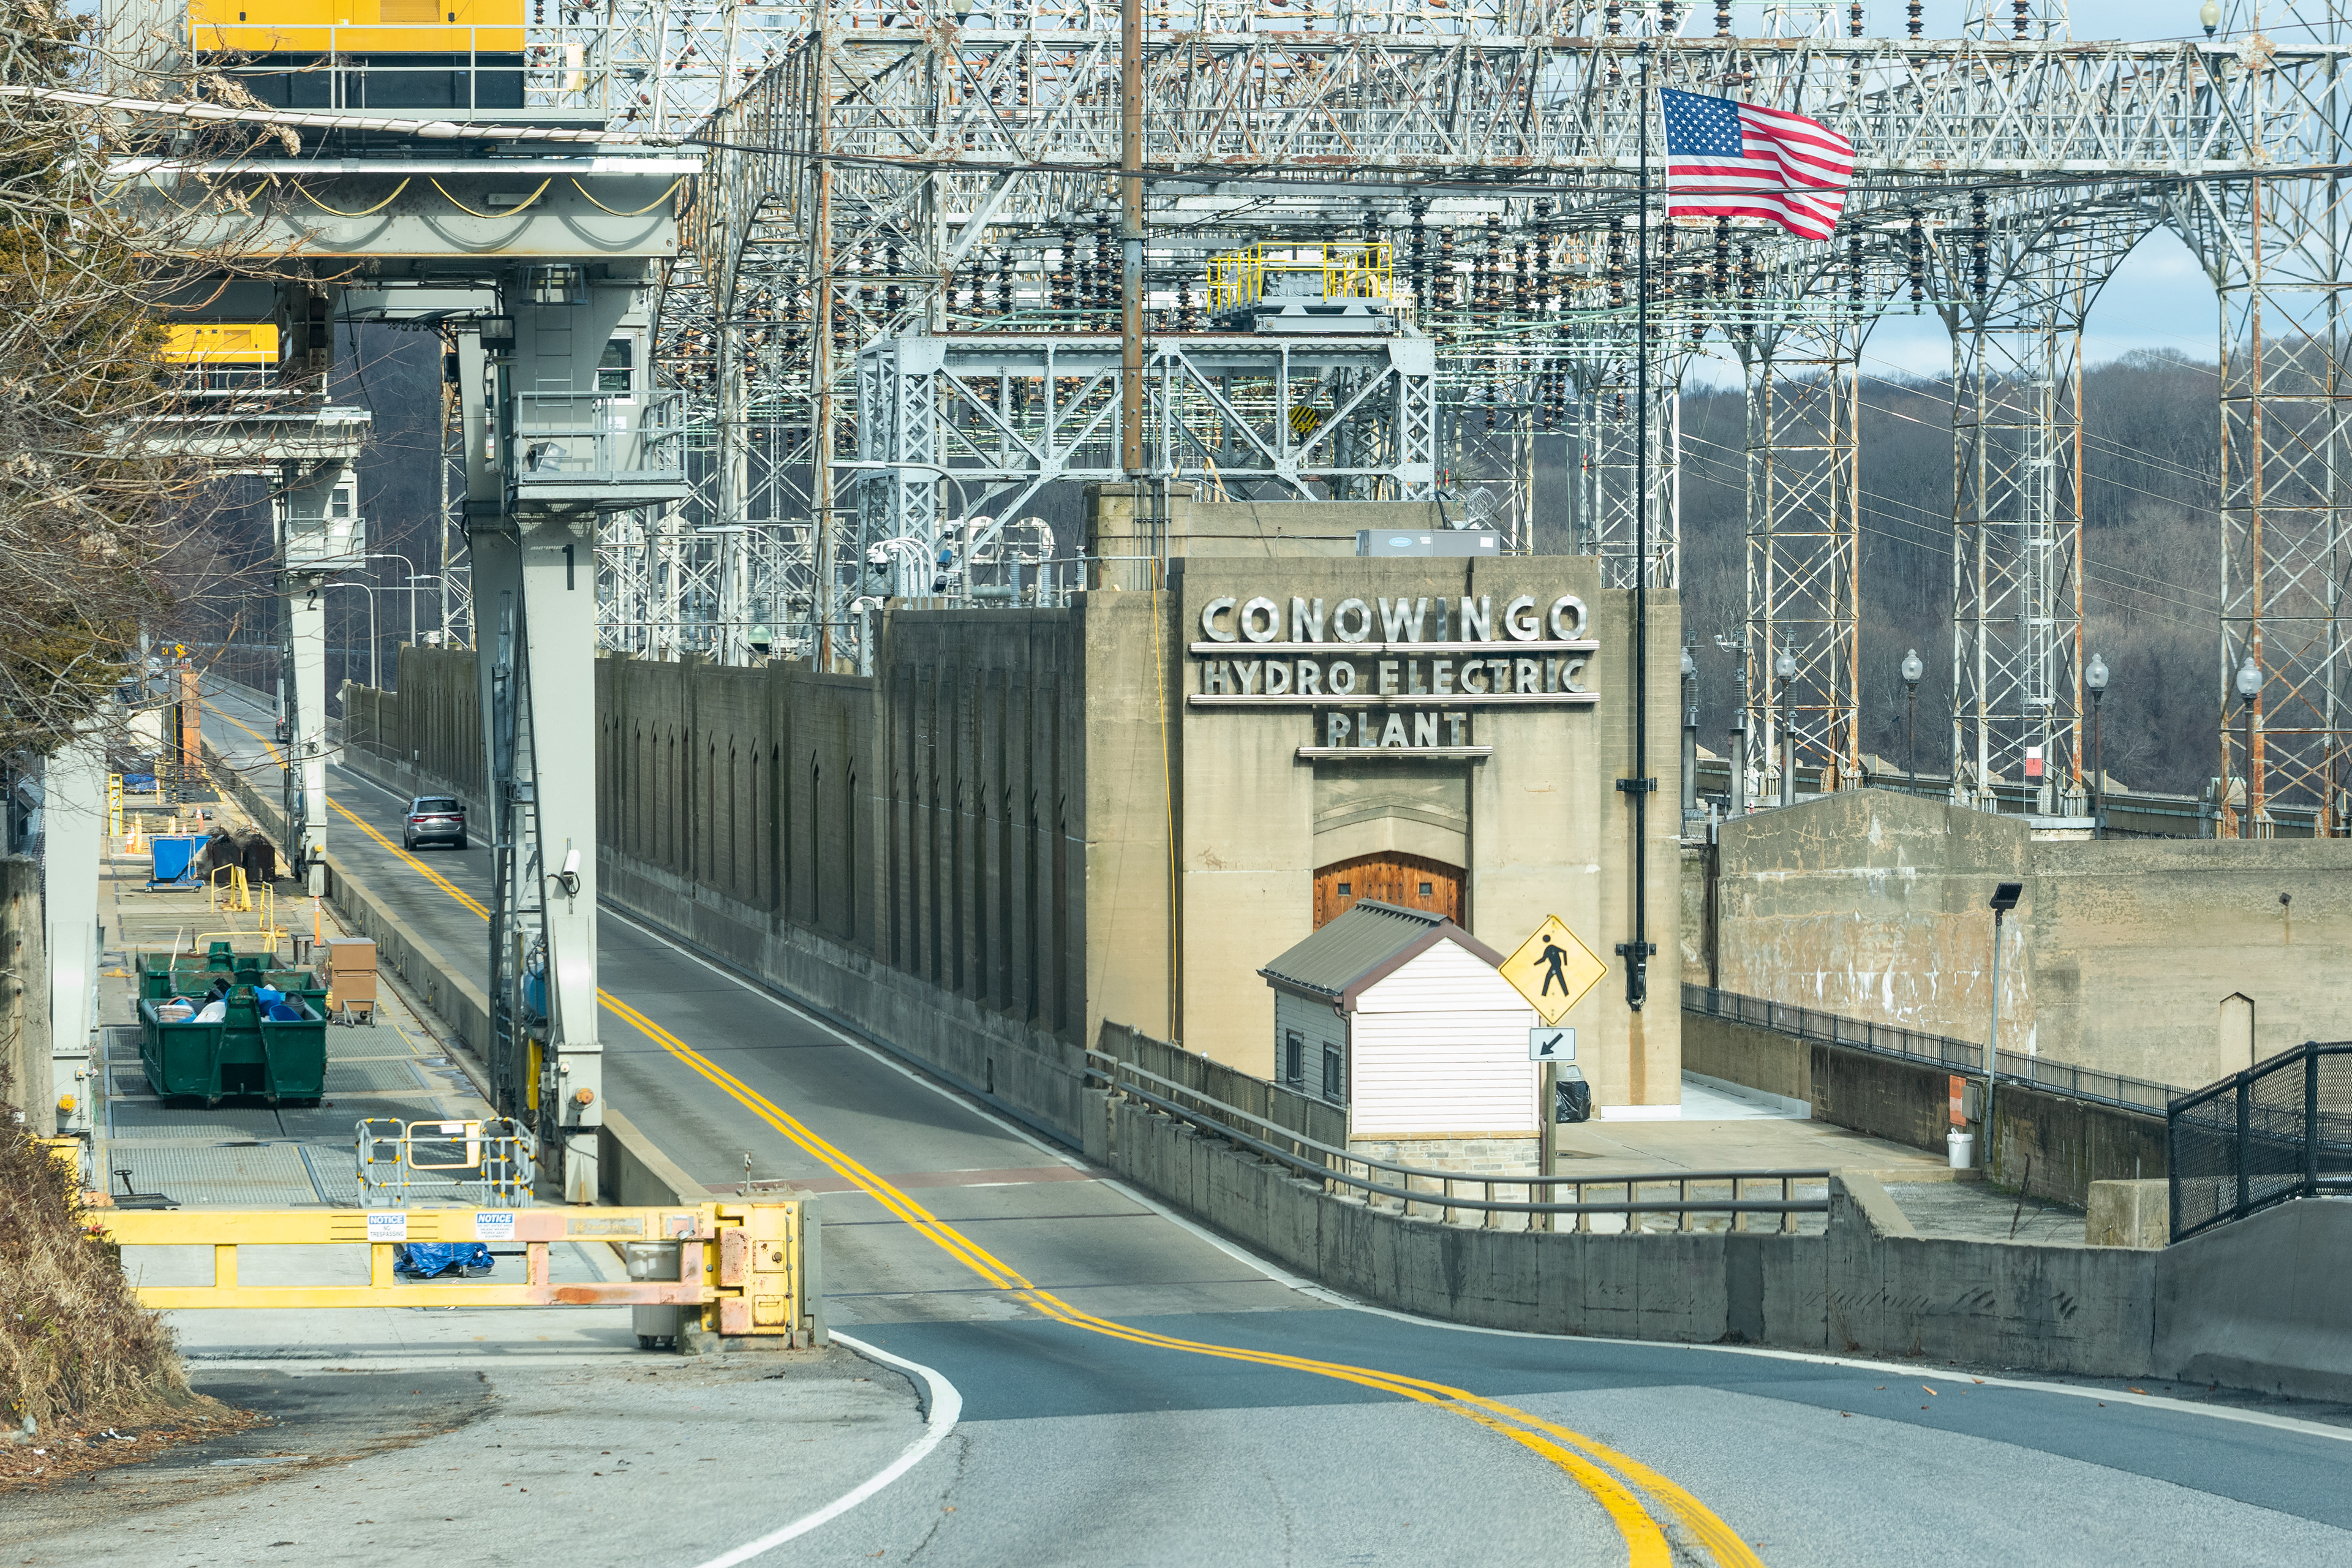

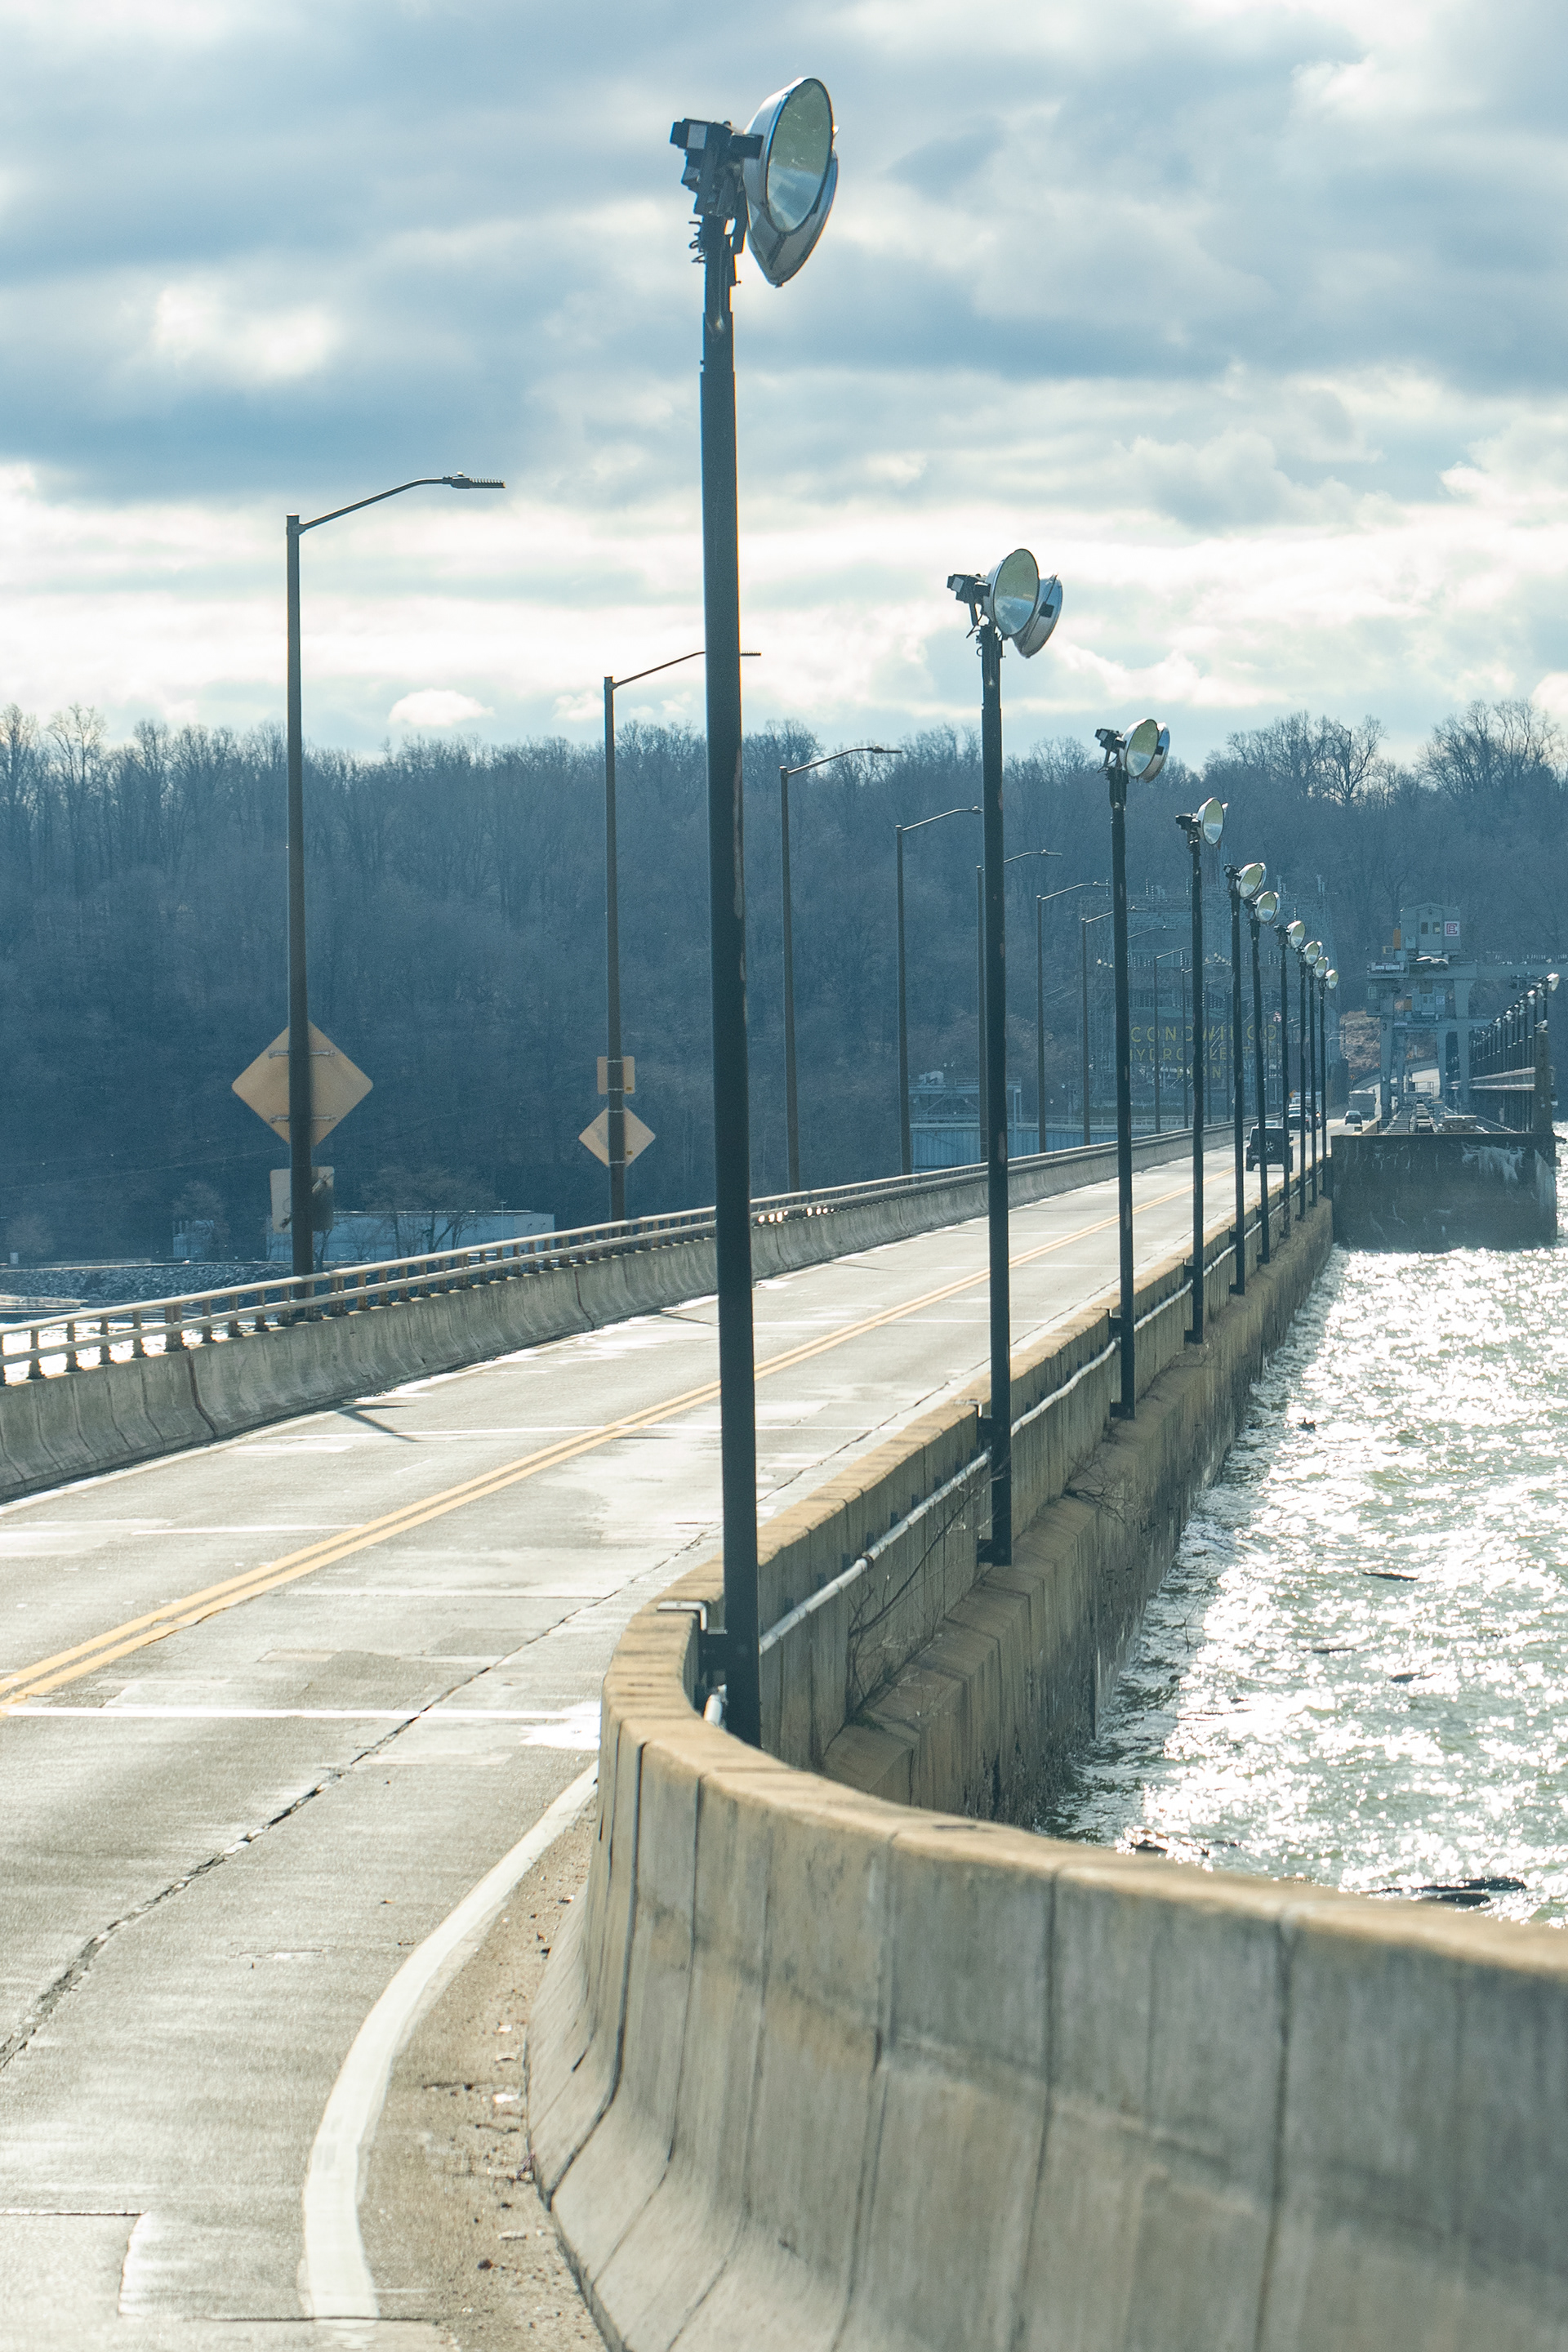
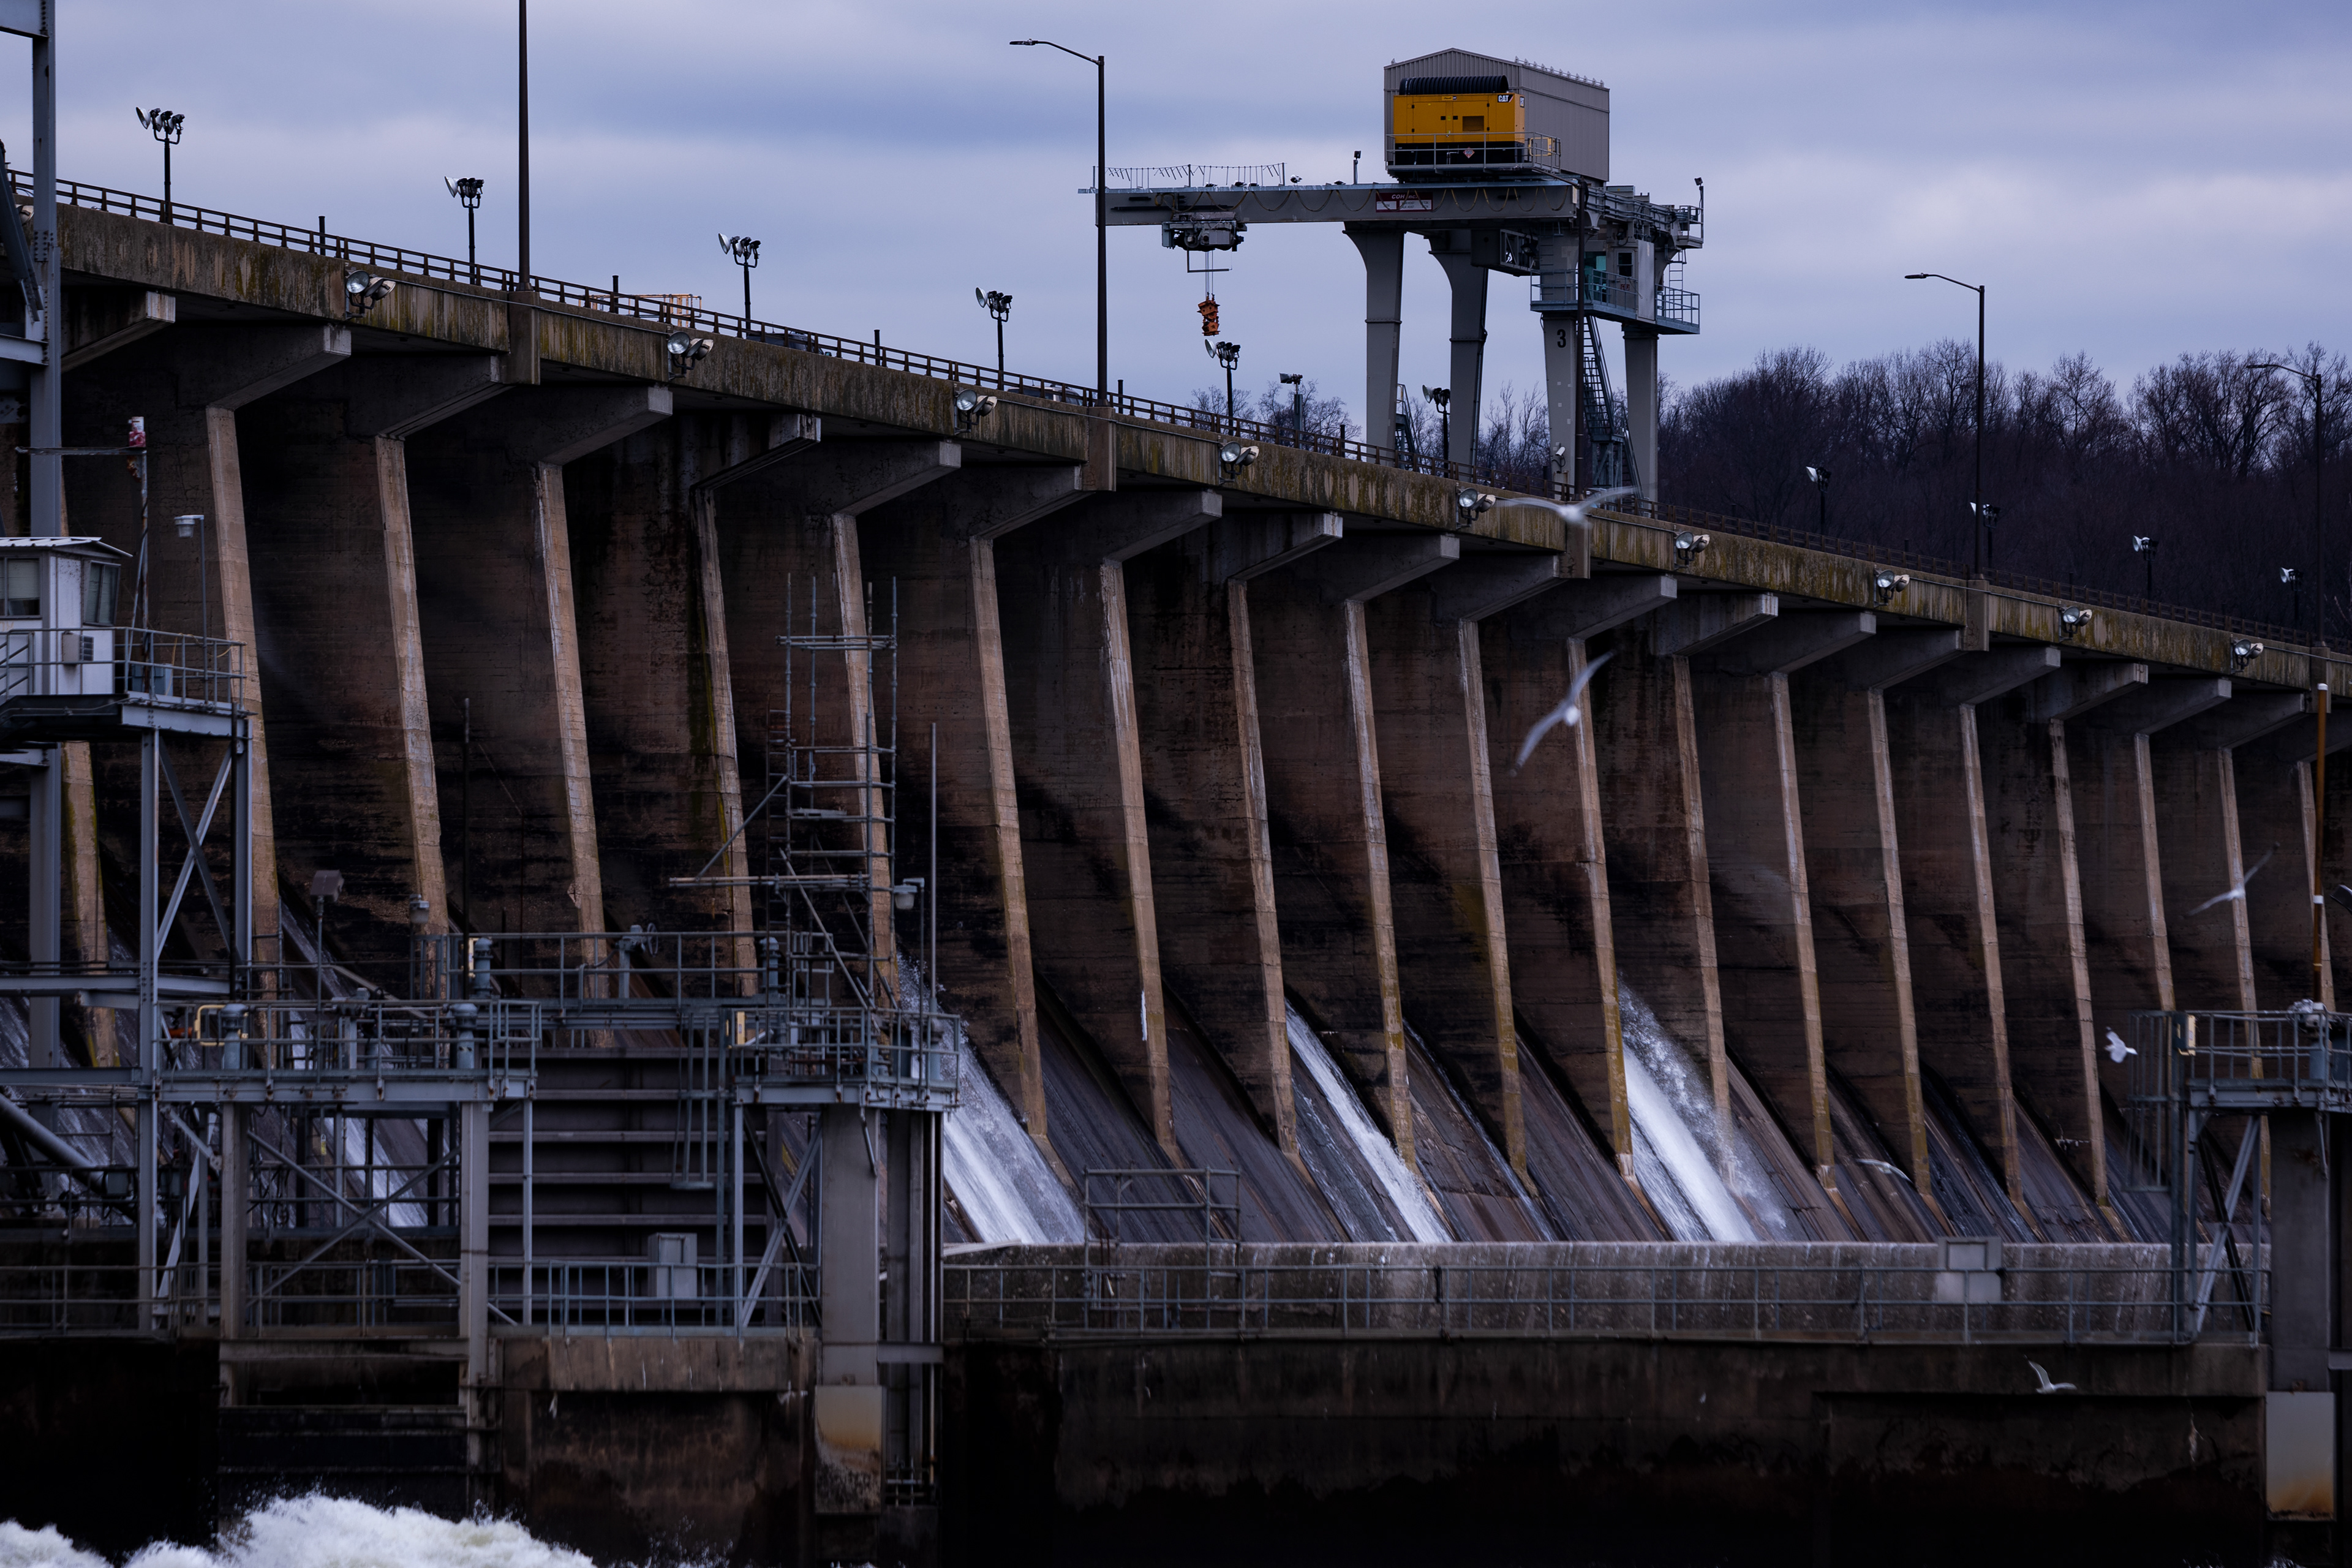
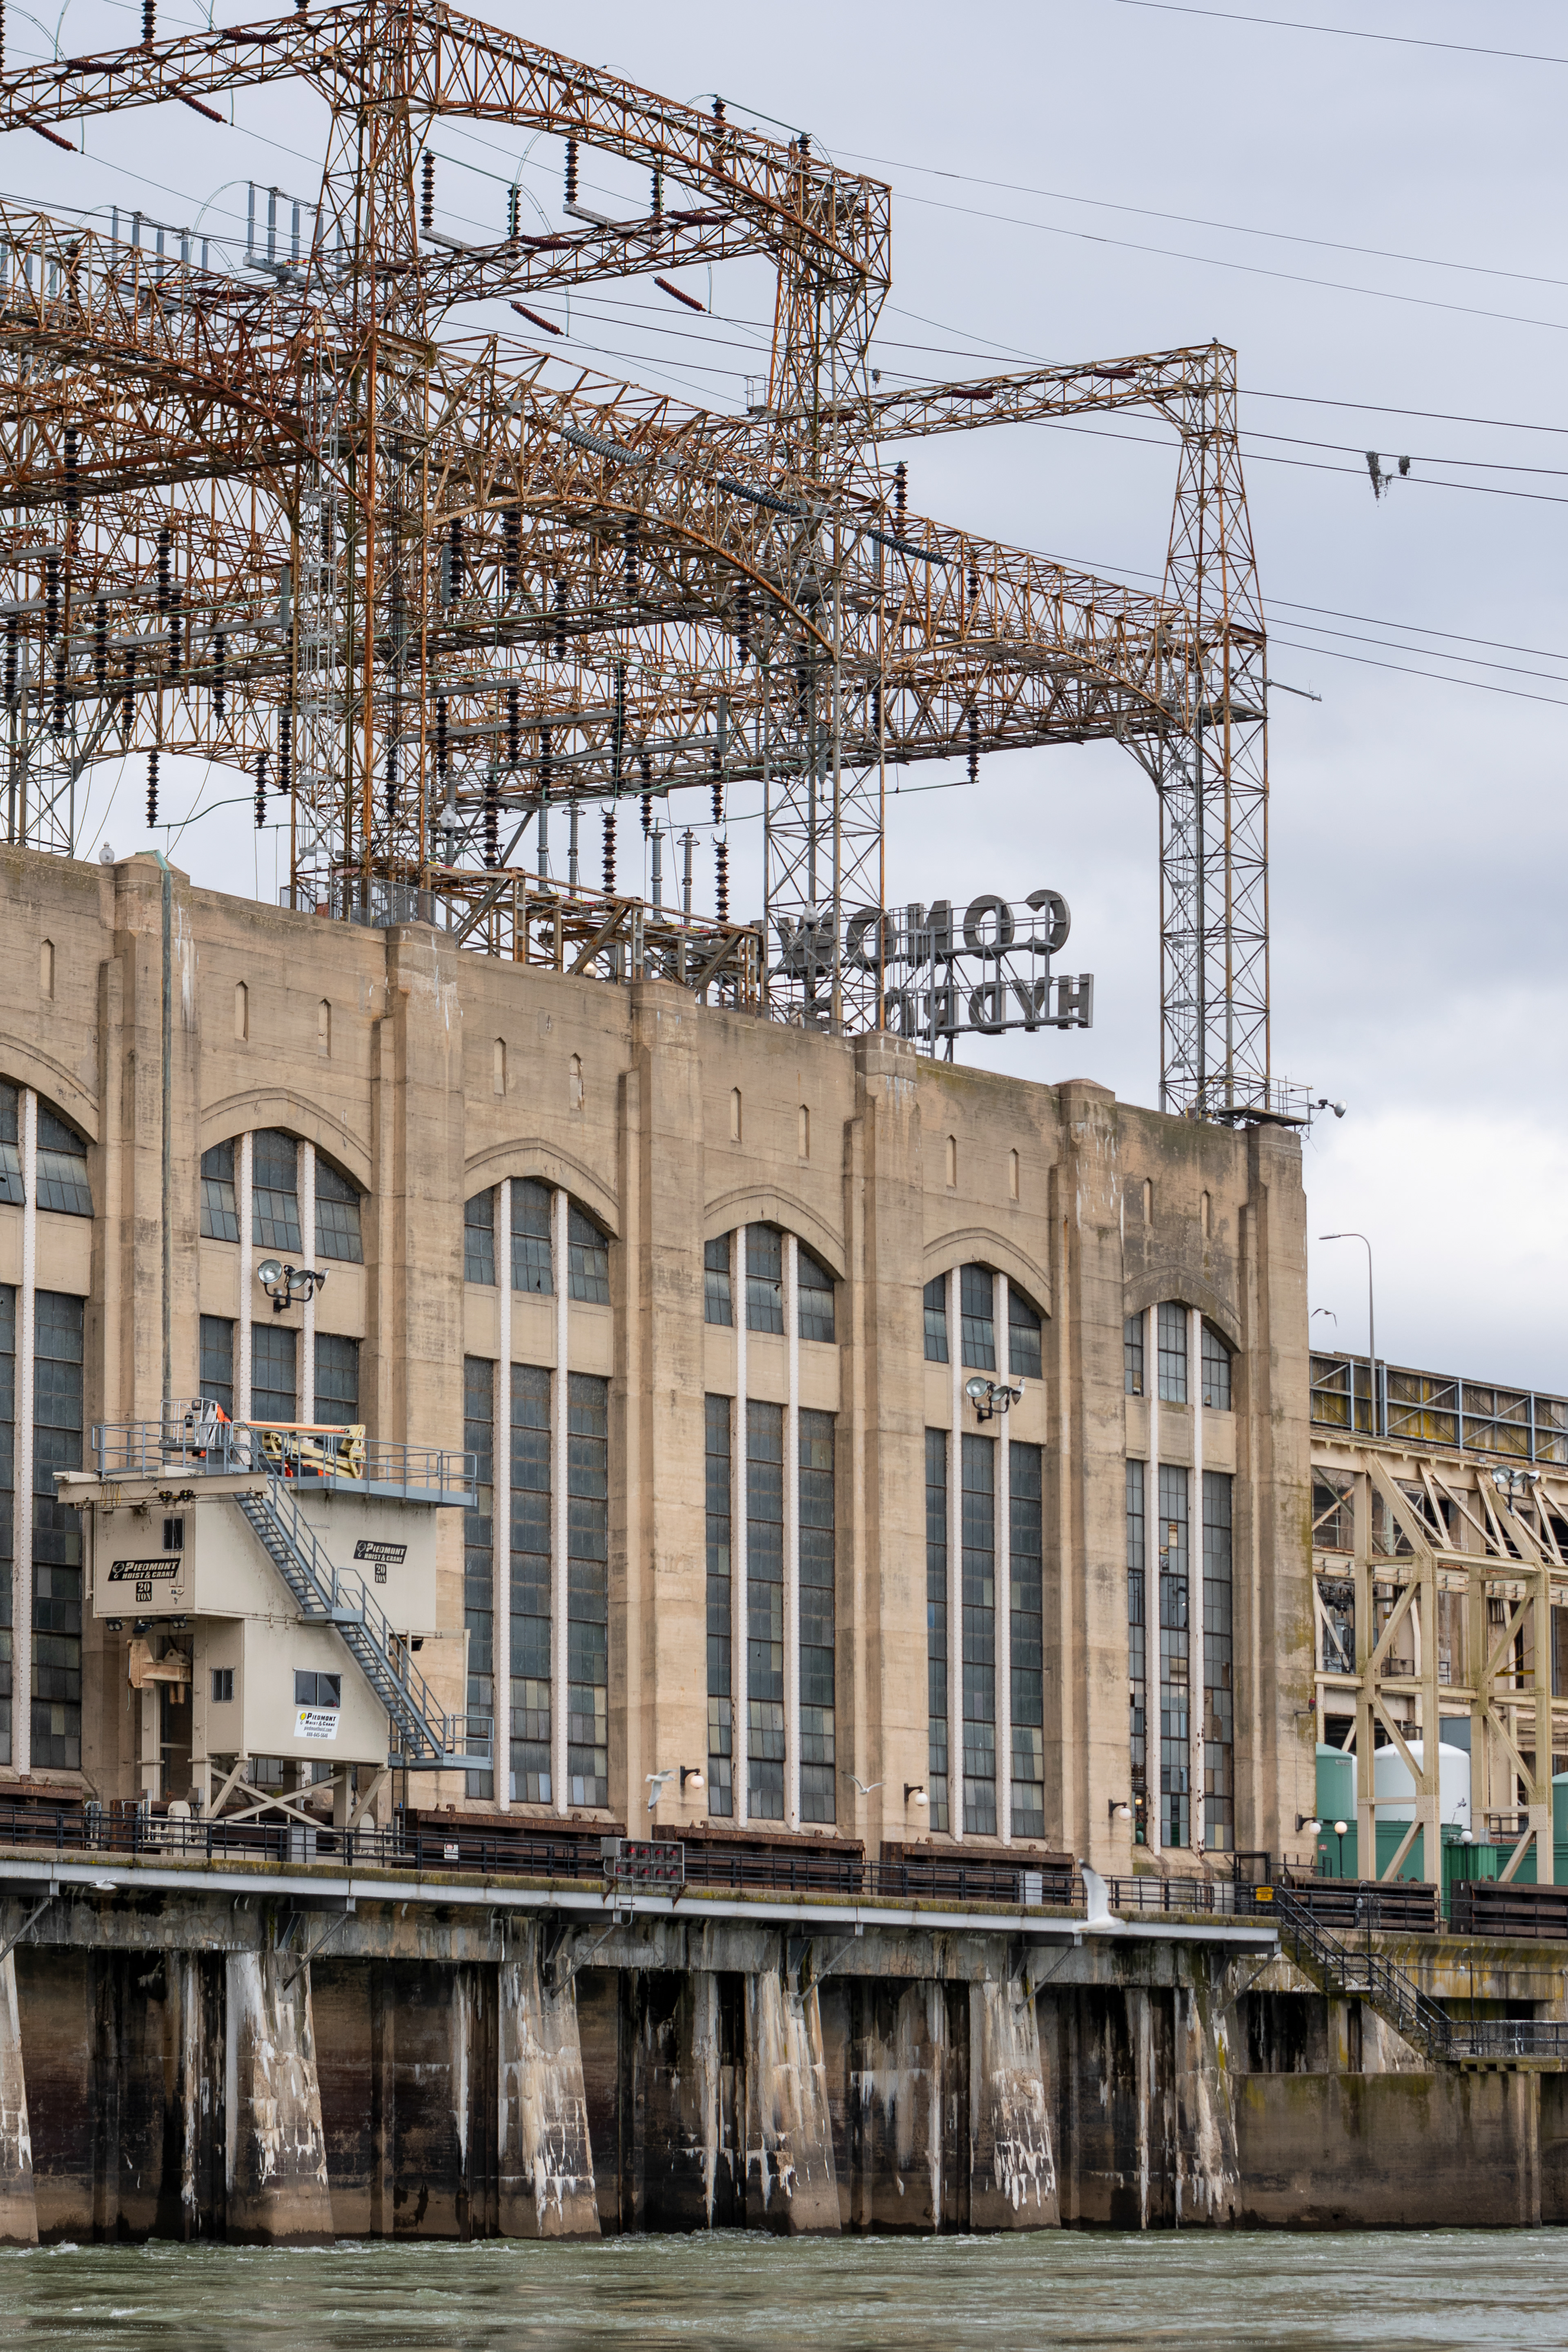
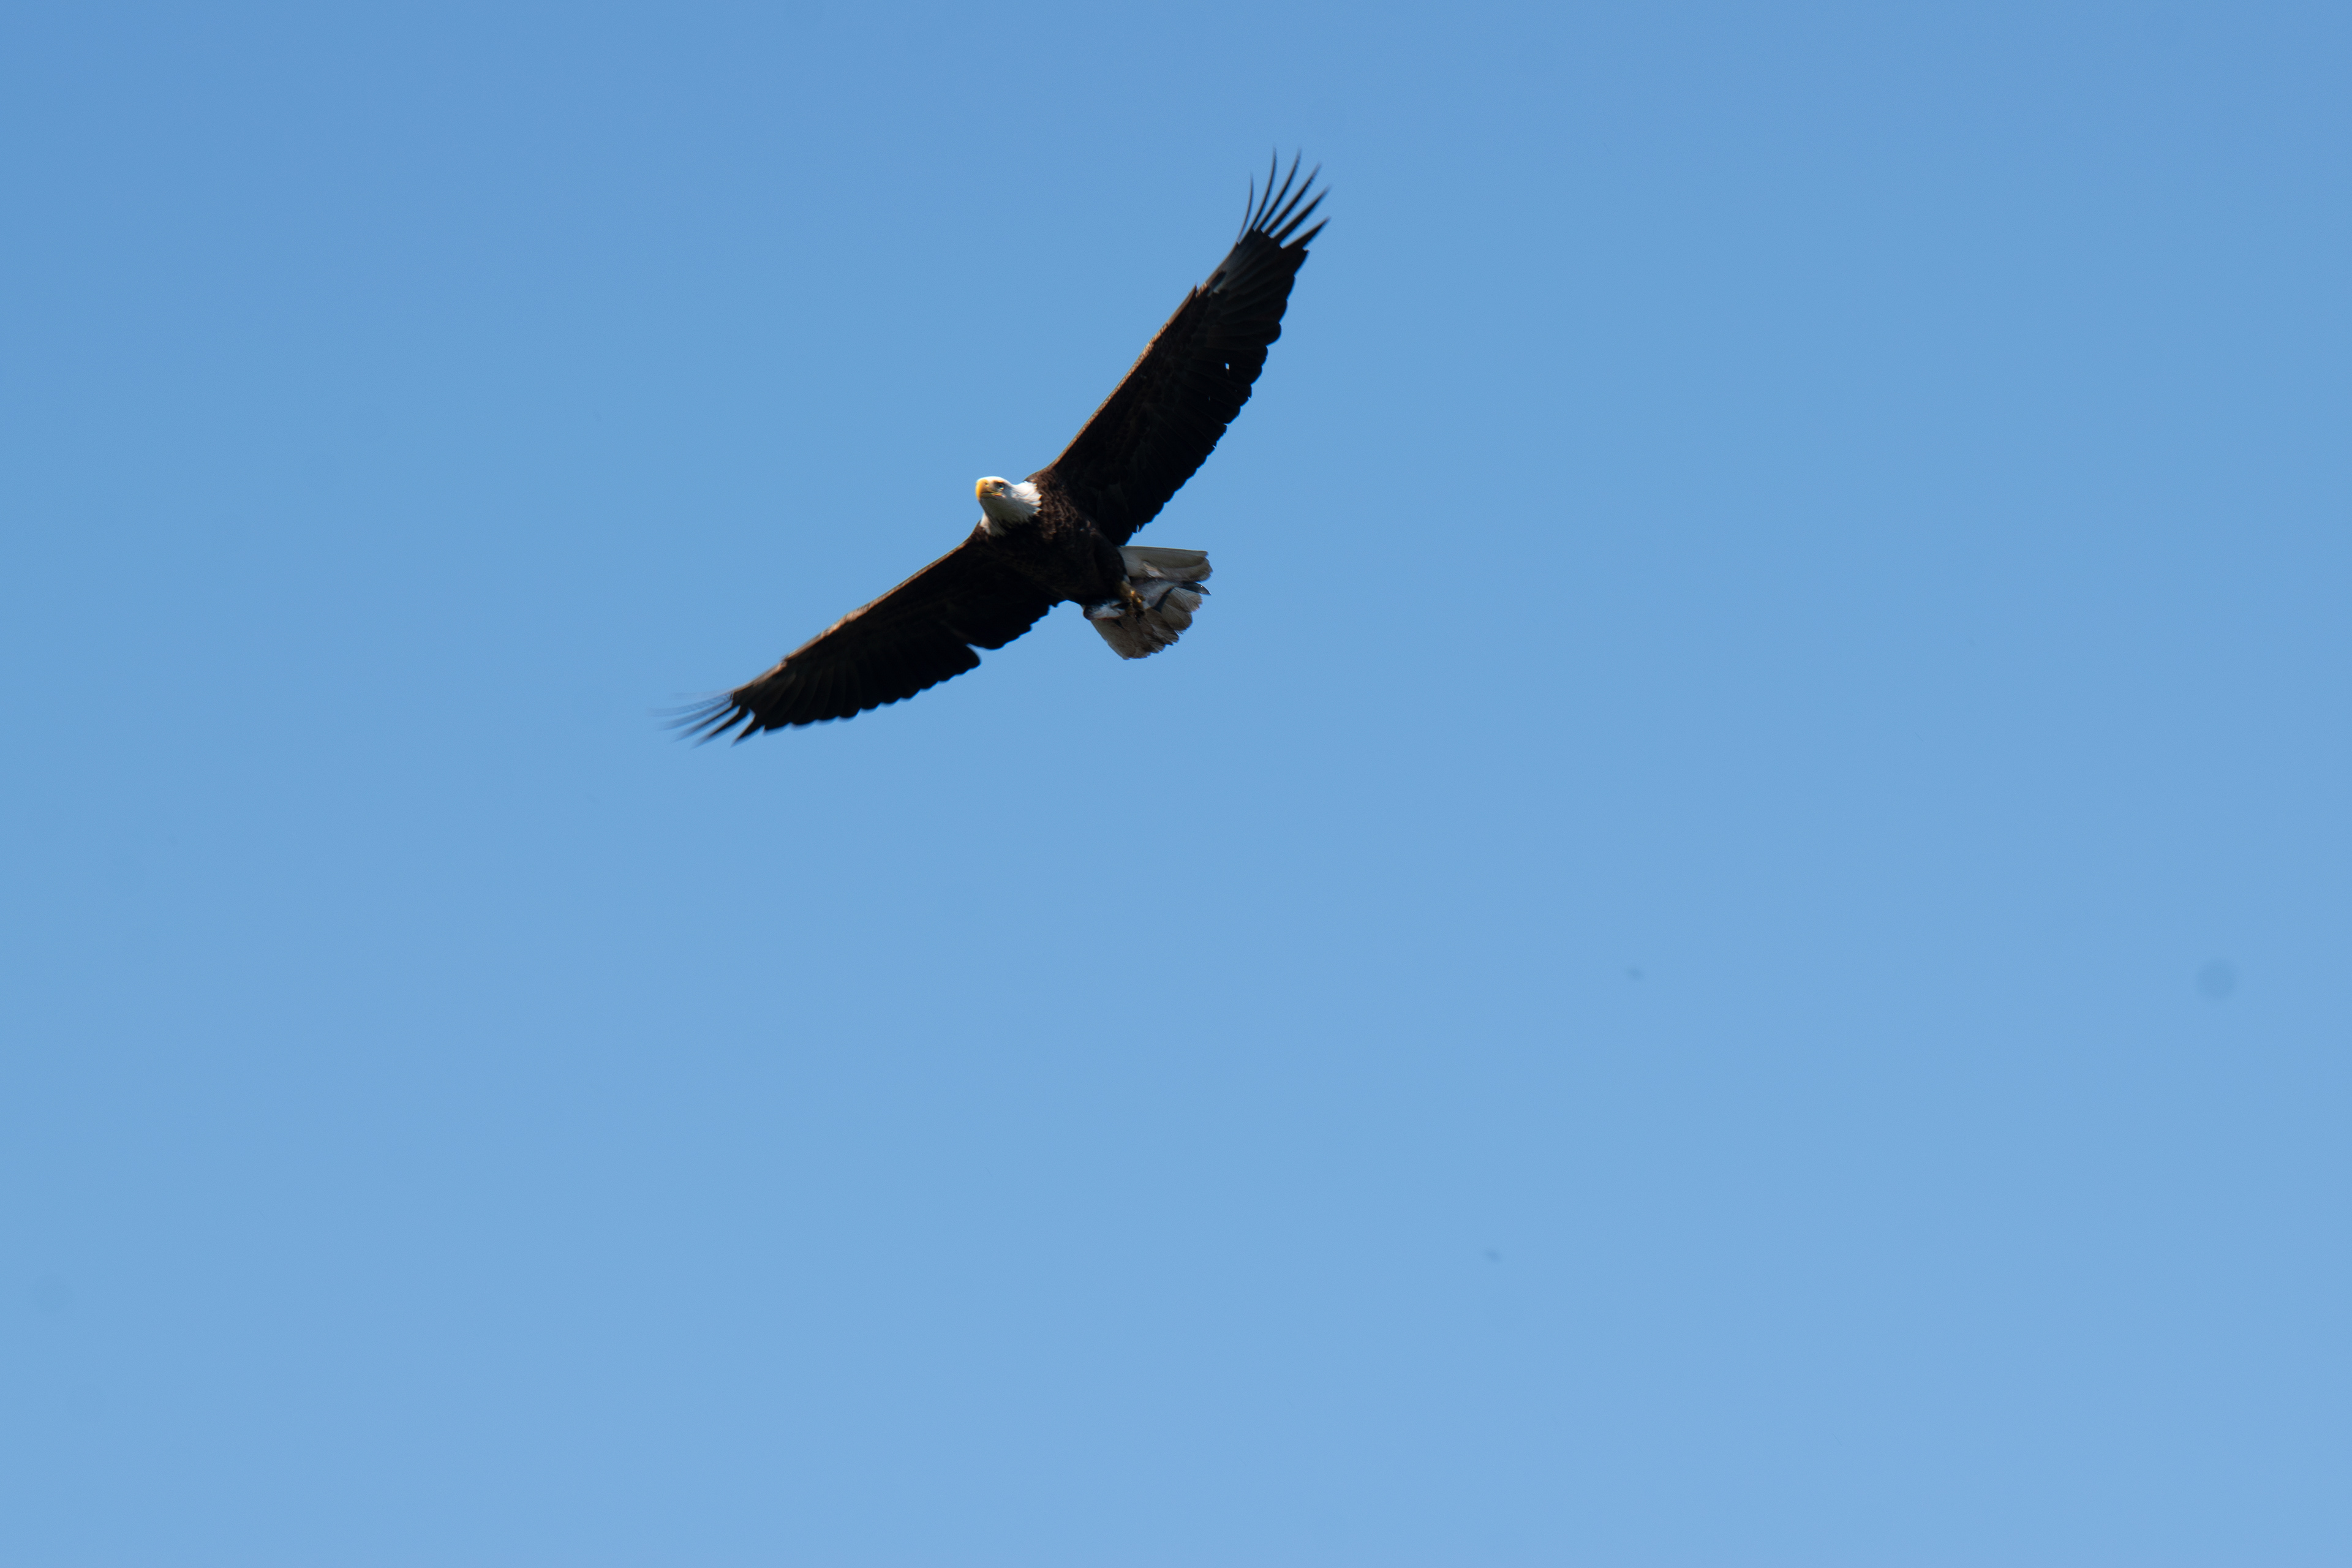
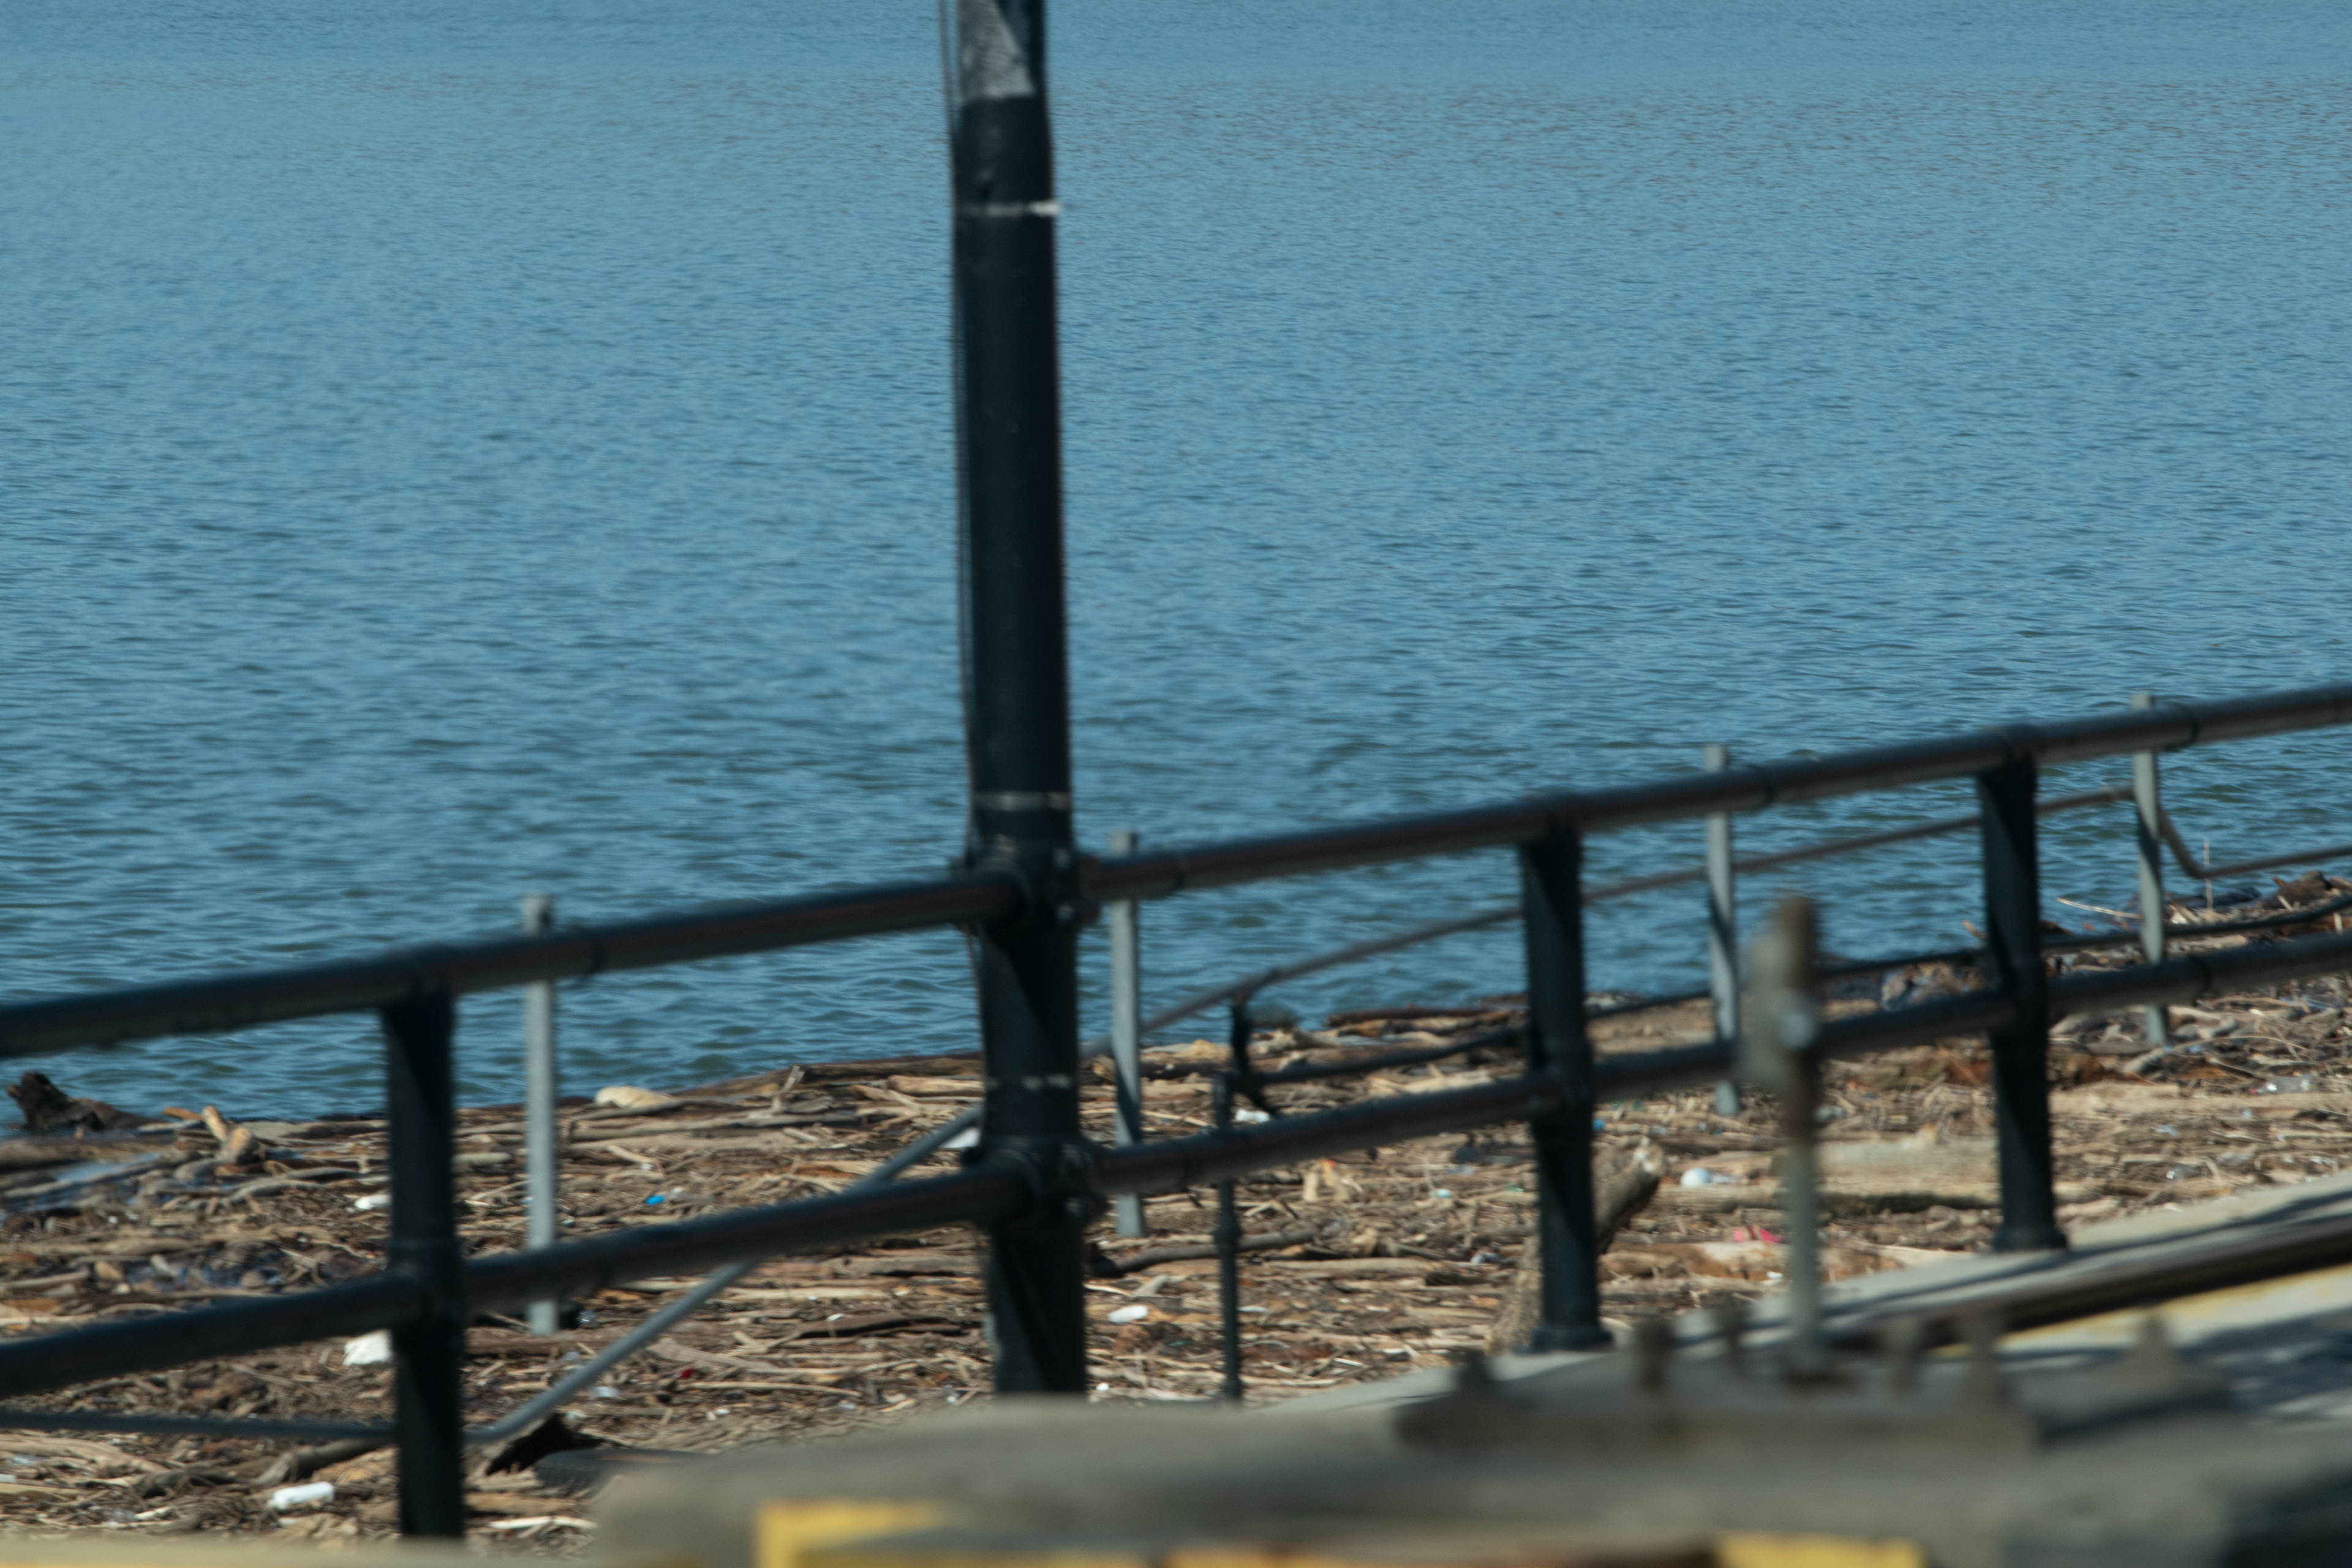
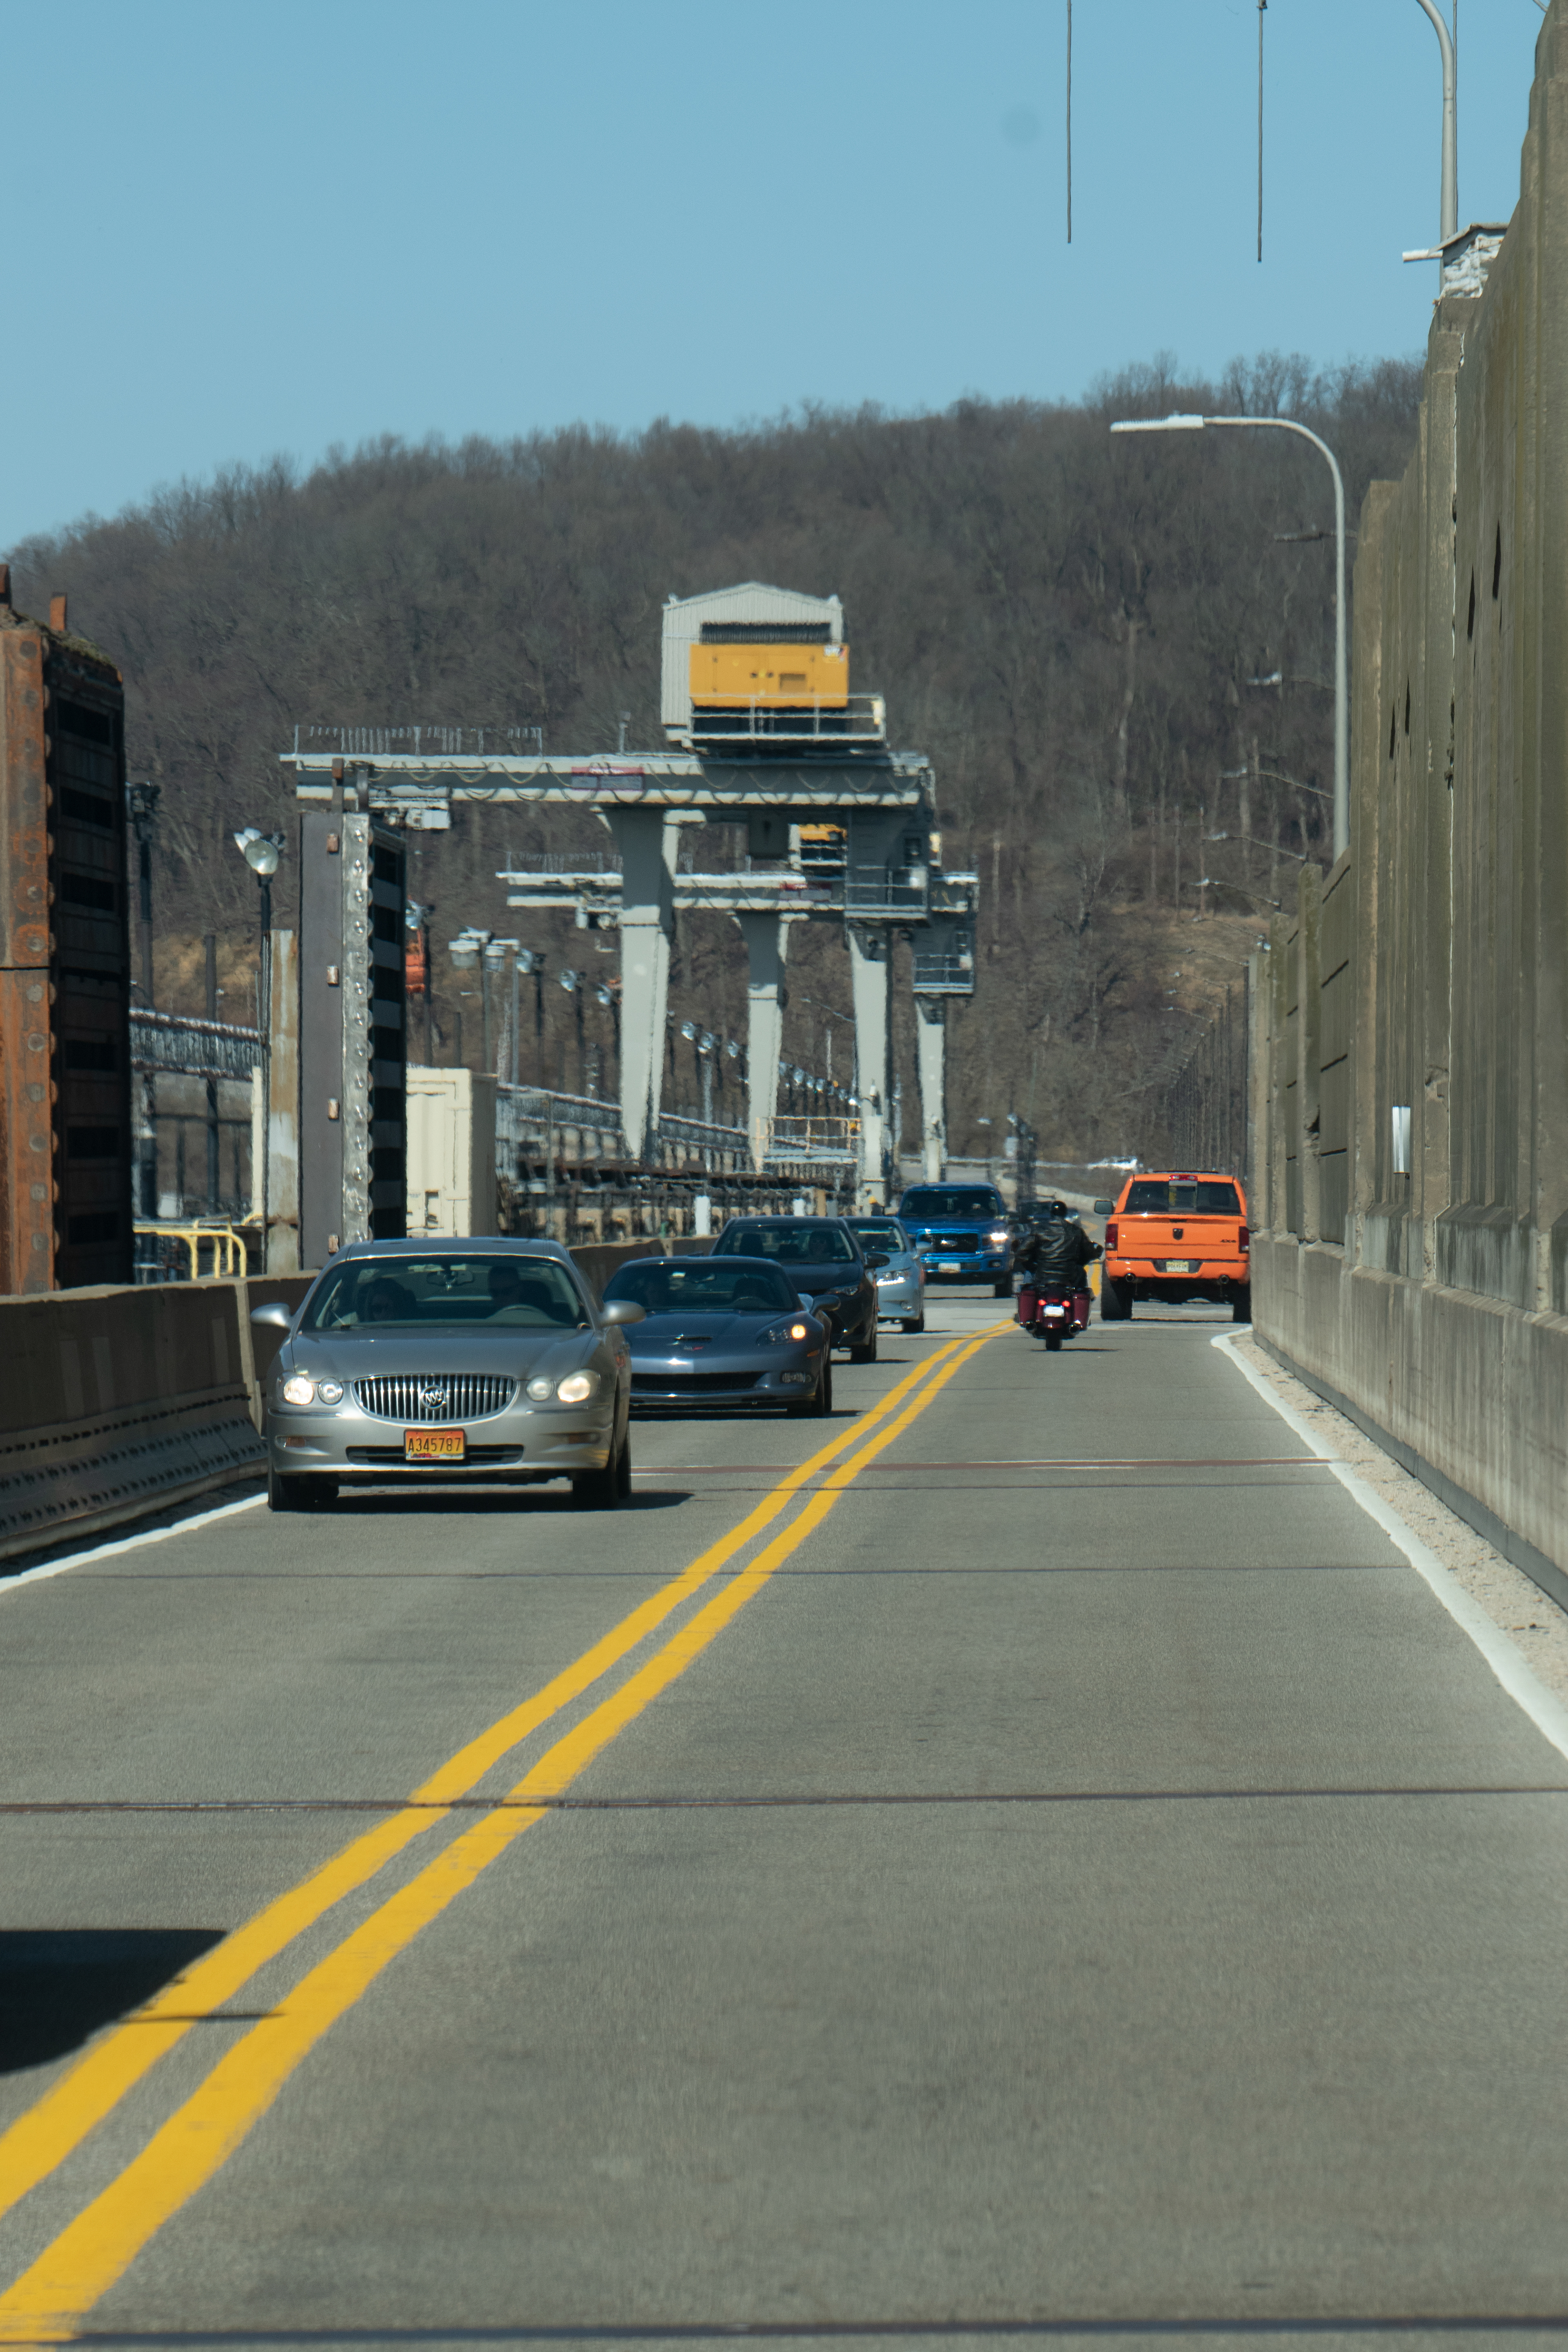

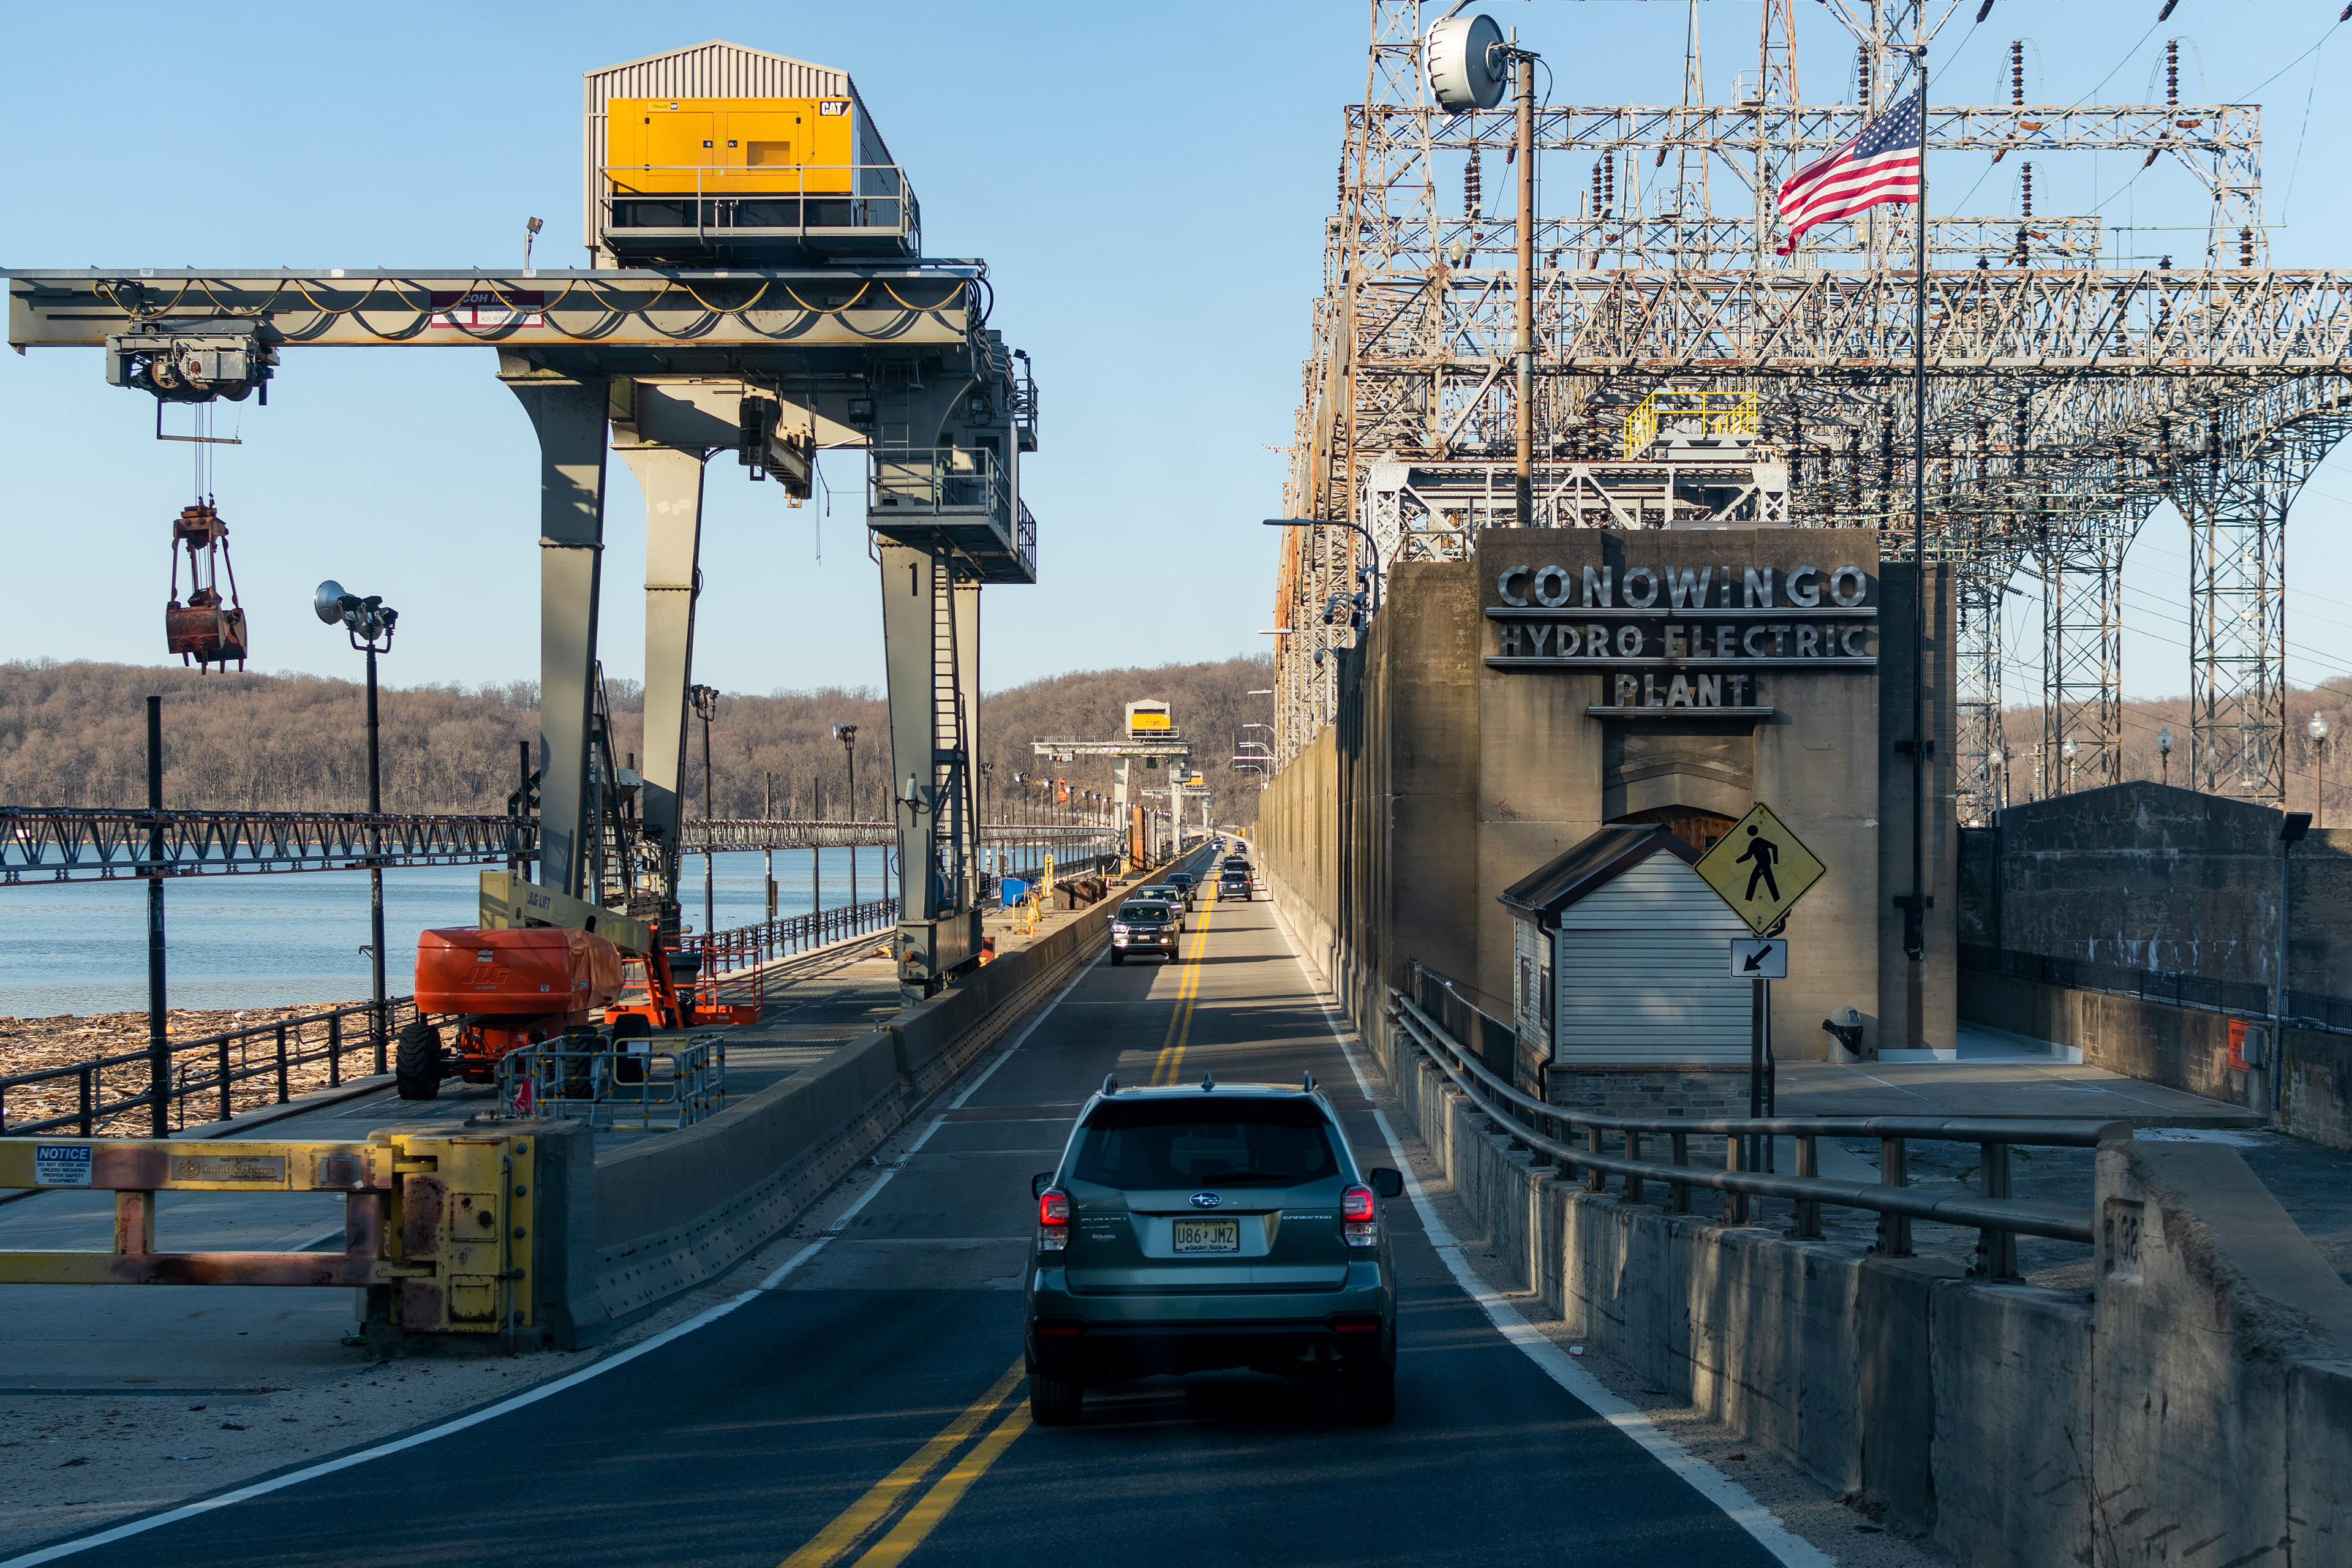
Outside of the handful of pictures that make it into my main projects, there is a lot more documentation behind what I do. As you can see here I document a lot of different aspects of Conowingo, the environment, all the angles you can get of the dam, and the varying light conditions. All of it gives me a better grasp of the topic and gives viewers a better grasp of the situation I'm working with.